> For clean Markdown content of this page, append .md to this URL. For the complete documentation index, see https://learning.postman.com/llms.txt.
# Build and deploy your first flow
Postman Flows is a low-code visual tool for building, testing, deploying, and automating APIs, workflows, and applications. In this tutorial, you'll build and deploy a flow that feeds an API response to an AI model and returns a human-readable summary of the results. Once it's deployed to a public URL, anyone with the URL can call the URL to get the flow's results.
## Build a new flow
1. [Open a workspace](/docs/collaborating-in-postman/using-workspaces/internal-workspaces/use-workspaces/) in Postman.
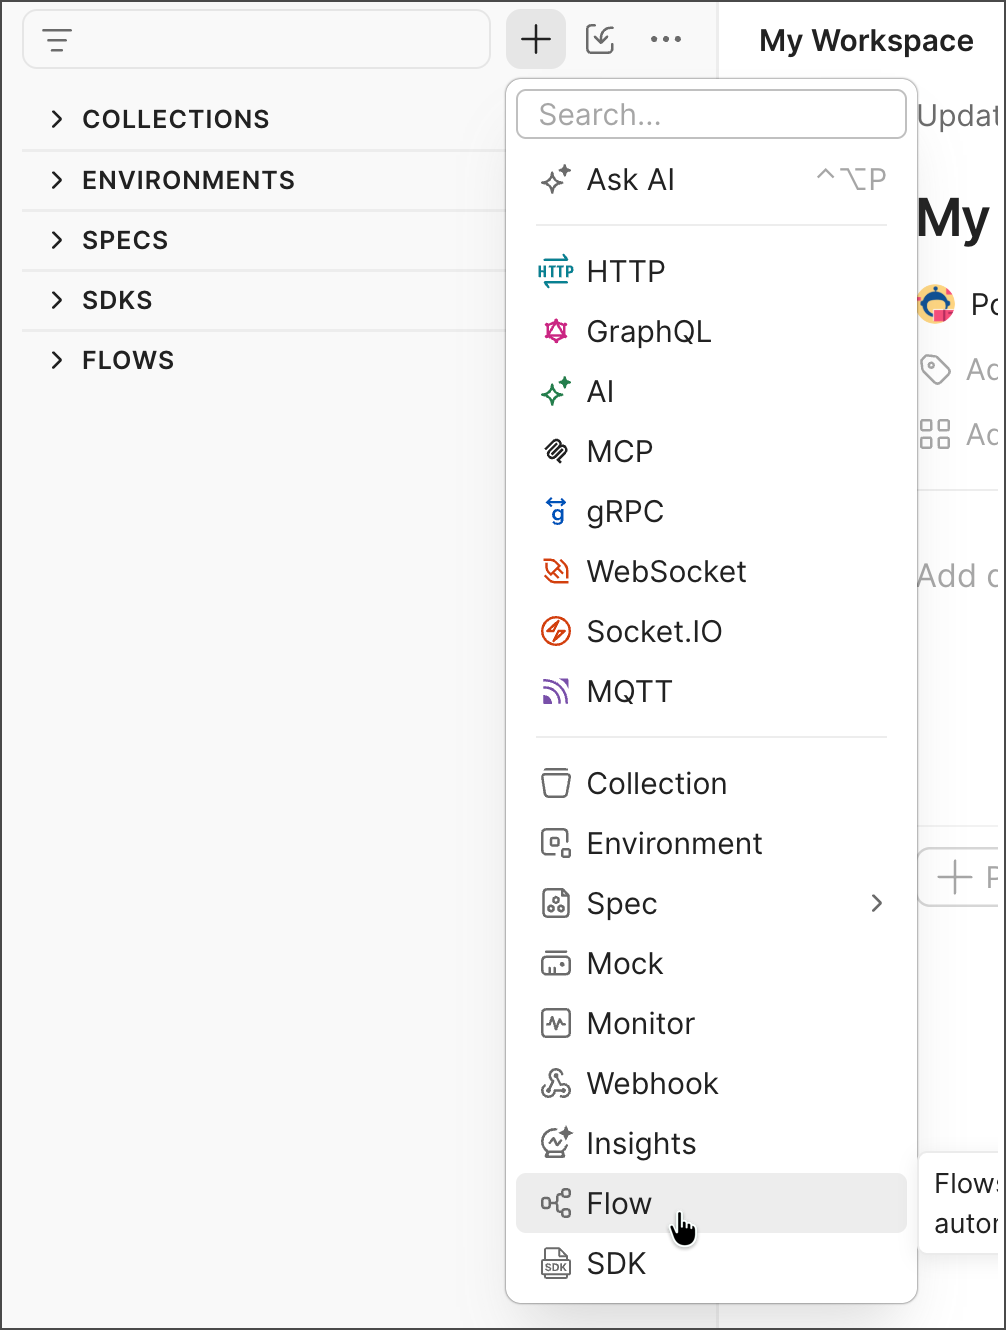
2. In the sidebar, click  and select
  **Flow**.
 3. In the new flow, click **Add blocks** and select
  **HTTP Request**.
4. In the **HTTP Request** block, click **Find or create new request** and select a request from one of your Postman [Collections](/docs/use/use-collections/overview/). If you have no collections, select
**HTTP Request**.
4. In the **HTTP Request** block, click **Find or create new request** and select a request from one of your Postman [Collections](/docs/use/use-collections/overview/). If you have no collections, select  **Postman Echo - GET**.
5. On the edge of the **HTTP Request** block, hover over the **Success** output port. The cursor becomes a plus sign.
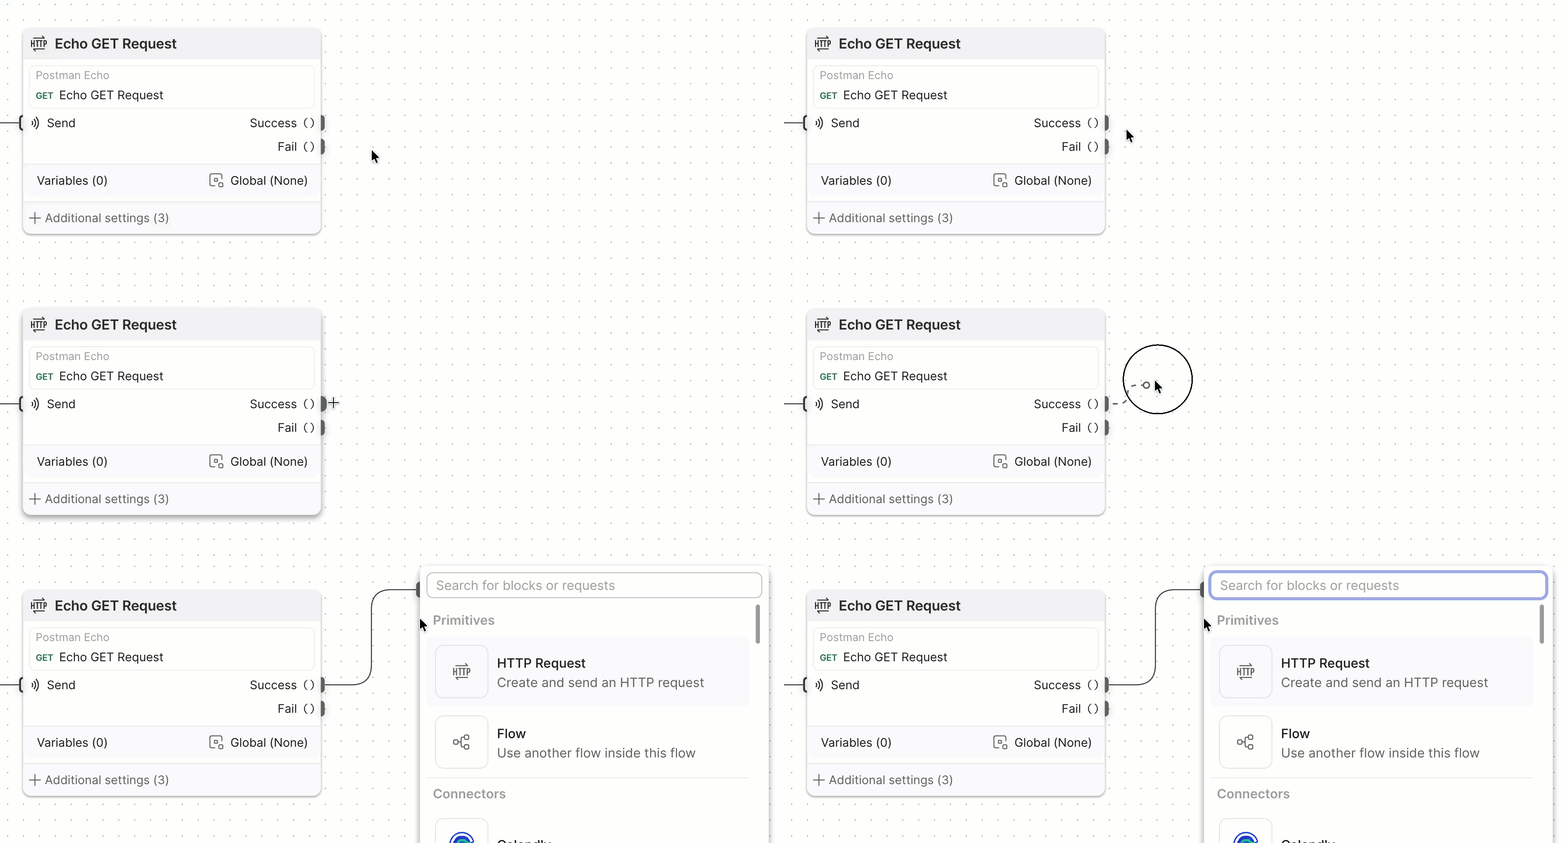
6. Click and drag the cursor from the **Success** output port to an empty area of the canvas. Release the mouse button to open the blocks dropdown list.
7. In the blocks dropdown list, click **Search for blocks or requests** and enter "AI".
8. Select
**Postman Echo - GET**.
5. On the edge of the **HTTP Request** block, hover over the **Success** output port. The cursor becomes a plus sign.

6. Click and drag the cursor from the **Success** output port to an empty area of the canvas. Release the mouse button to open the blocks dropdown list.
7. In the blocks dropdown list, click **Search for blocks or requests** and enter "AI".
8. Select  **AI Agent** from the dropdown list.
9. In the **AI Agent** block's **Prompt** text box, enter "Summarize the API response in one or two short sentences".
10. Click and drag the **AI Agent** block's **Result** port to an empty area of the canvas. Release the mouse button and enter "display". Select
**AI Agent** from the dropdown list.
9. In the **AI Agent** block's **Prompt** text box, enter "Summarize the API response in one or two short sentences".
10. Click and drag the **AI Agent** block's **Result** port to an empty area of the canvas. Release the mouse button and enter "display". Select  **Display** from the dropdown list.
11. Click
**Display** from the dropdown list.
11. Click  **Run**.
### Run the flow
When you click **Run**, the following events occur:
* The **Start** block triggers the **HTTP Request** block to send its API request.
* The **HTTP Request** block sends a request to the specified endpoint and receives a response.
* The **HTTP Request** block sends the response data as a JSON object from its **Success** output port to the **AI Agent** block's **key** input port.
* The **AI Agent** block's **key** input port receives data from the **HTTP Request** block. The **AI Agent** block applies its prompt to the data the **key** input port received.
* The **AI Agent** block sends its results to the **Display** block's input port.
* The **Display** block displays the results.
## Deploy the flow
When you [deploy](/flows/build-flows/structure/actions/) a flow, Postman hosts it in the Postman cloud at a public URL. You can share this URL with anyone, and they can call the flow to get its results.
To deploy the flow you built in the previous section, do the following:
1. In the **Start** block, click **Change trigger** and select
**Run**.
### Run the flow
When you click **Run**, the following events occur:
* The **Start** block triggers the **HTTP Request** block to send its API request.
* The **HTTP Request** block sends a request to the specified endpoint and receives a response.
* The **HTTP Request** block sends the response data as a JSON object from its **Success** output port to the **AI Agent** block's **key** input port.
* The **AI Agent** block's **key** input port receives data from the **HTTP Request** block. The **AI Agent** block applies its prompt to the data the **key** input port received.
* The **AI Agent** block sends its results to the **Display** block's input port.
* The **Display** block displays the results.
## Deploy the flow
When you [deploy](/flows/build-flows/structure/actions/) a flow, Postman hosts it in the Postman cloud at a public URL. You can share this URL with anyone, and they can call the flow to get its results.
To deploy the flow you built in the previous section, do the following:
1. In the **Start** block, click **Change trigger** and select  **Request**.
2. Click and drag the **Display** block's output port to an empty area of the canvas. Release the mouse button and enter "response". Select
**Request**.
2. Click and drag the **Display** block's output port to an empty area of the canvas. Release the mouse button and enter "response". Select  **Response** from the dropdown list.
3. Click **Deploy** in the top right corner of your flow.
**Response** from the dropdown list.
3. Click **Deploy** in the top right corner of your flow.
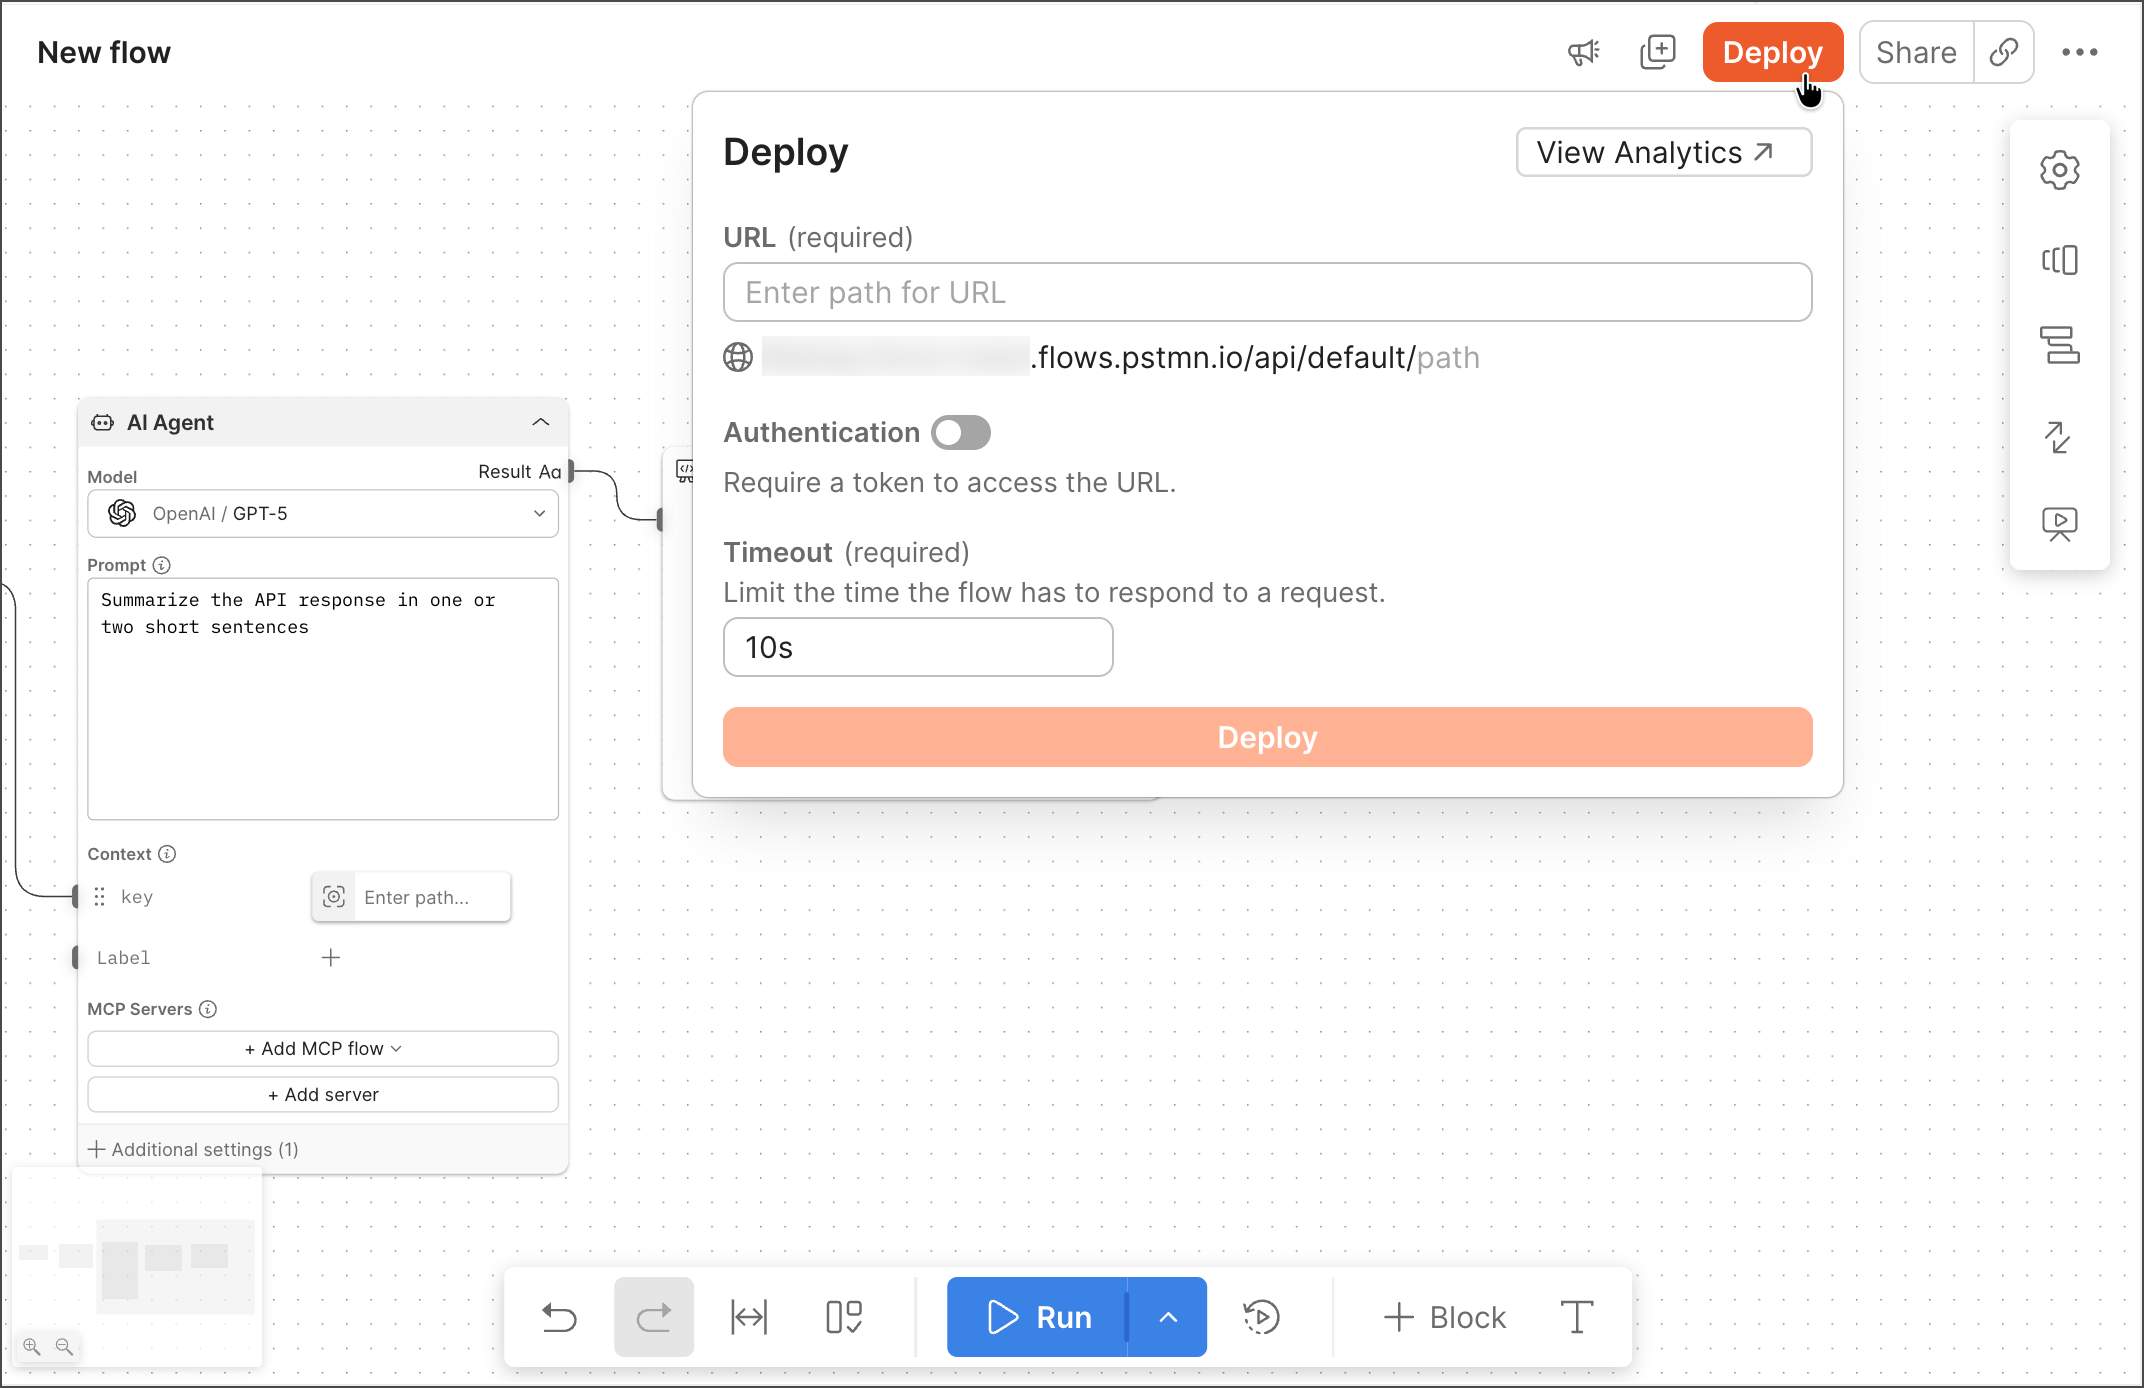 4. Enter a path for your flow's URL. Postman will add it to an automatically generated base URL. For example, if you enter "my-flow", your flow will be available at `https:///my-flow`.
5. Click **Deploy** at the bottom of the dialog. The flow is live in the Postman cloud.
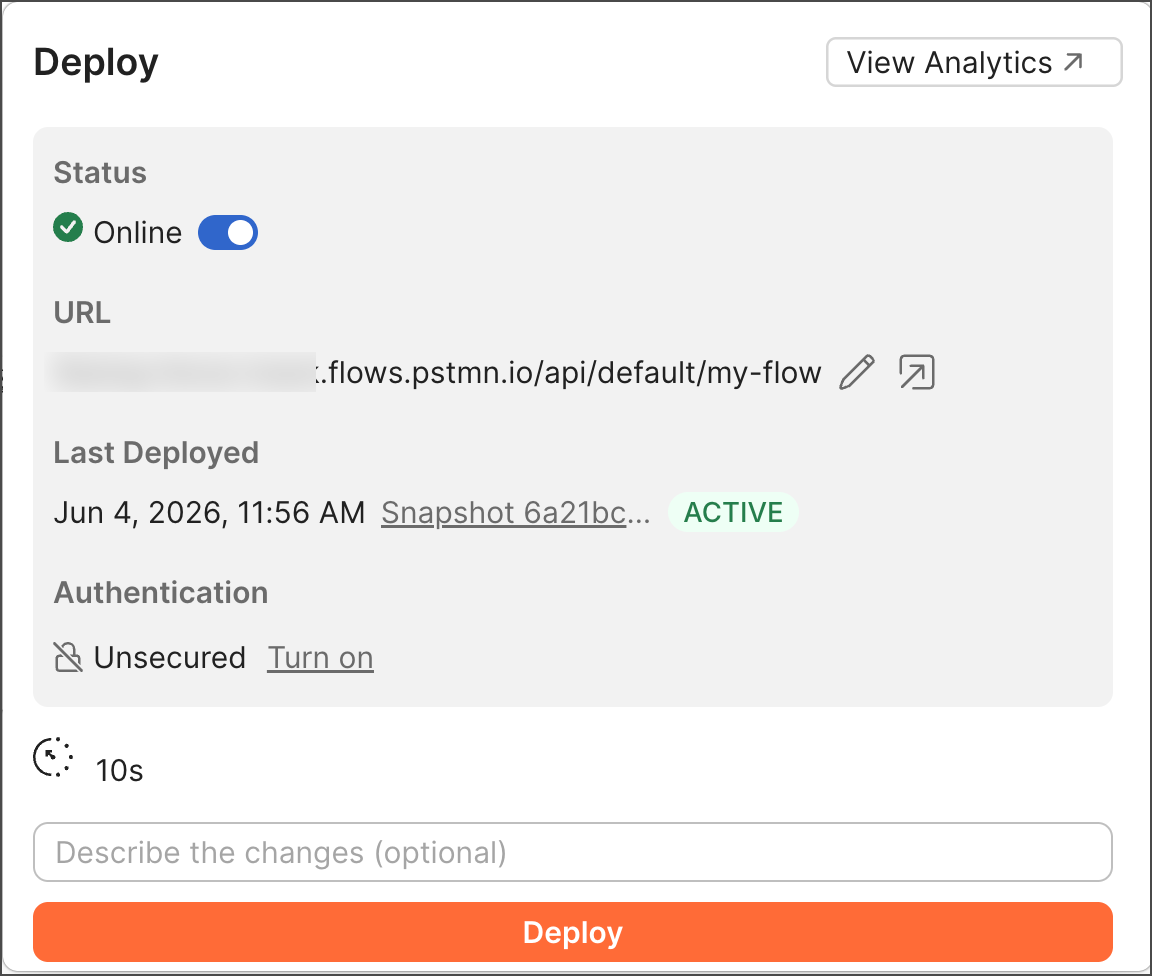
6. Click the URL to copy it. You can share this URL with anyone, and they can call the URL to get the flow's results.
4. Enter a path for your flow's URL. Postman will add it to an automatically generated base URL. For example, if you enter "my-flow", your flow will be available at `https:///my-flow`.
5. Click **Deploy** at the bottom of the dialog. The flow is live in the Postman cloud.
6. Click the URL to copy it. You can share this URL with anyone, and they can call the URL to get the flow's results.