> For clean Markdown content of this page, append .md to this URL. For the complete documentation index, see https://learning.postman.com/llms.txt. For full content including API reference and SDK examples, see https://learning.postman.com/llms-full.txt.
# Creating your first MQTT request
In this example of an MQTT request, you will connect to a public broker, subscribe to topics, publish messages, and visualize the response.
## Create an MQTT request
In Postman, click **New** and select **MQTT** as the request type.
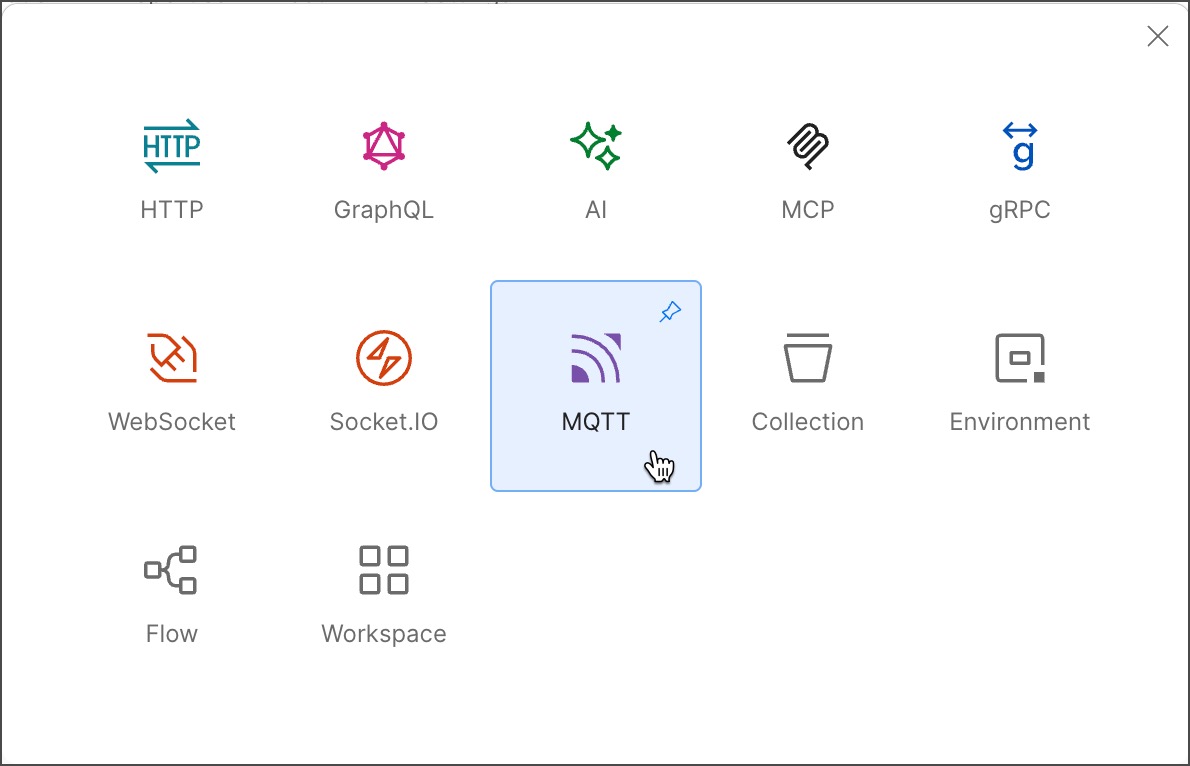 Alternatively, click
  **Add** next to an open tab. You can switch your request type by clicking the request icon next to the request name.
 ## Connect to a broker with Postman
To connect to an MQTT service, you need a broker URL. This example uses the public broker `test.mosquitto.org`. You can also use any other public broker or a broker hosted on your local machine.
1. Enter `test.mosquitto.org` as the request **URL**.
2. Click **Connect** to connect to the broker.
A message in the response area indicates that you're connected to the broker.
## Connect to a broker with Postman
To connect to an MQTT service, you need a broker URL. This example uses the public broker `test.mosquitto.org`. You can also use any other public broker or a broker hosted on your local machine.
1. Enter `test.mosquitto.org` as the request **URL**.
2. Click **Connect** to connect to the broker.
A message in the response area indicates that you're connected to the broker.
 If you're using the Postman web app, use the Postman Desktop Agent to connect to an MQTT broker. See [About the Postman Agent](https://learning.postman.com/docs/getting-started/about-postman-agent/) for more information.
## Subscribe to topics
While connected to the broker, select the **Topics** tab. This enables you to create, document, and subscribe to multiple topics.
1. In the **Topics** column, enter `my-toys` as the topic name.
2. Select **Subscribe** to subscribe to the topic.
A message appears in the response area indicating that you're subscribed to the topic.
If you're using the Postman web app, use the Postman Desktop Agent to connect to an MQTT broker. See [About the Postman Agent](https://learning.postman.com/docs/getting-started/about-postman-agent/) for more information.
## Subscribe to topics
While connected to the broker, select the **Topics** tab. This enables you to create, document, and subscribe to multiple topics.
1. In the **Topics** column, enter `my-toys` as the topic name.
2. Select **Subscribe** to subscribe to the topic.
A message appears in the response area indicating that you're subscribed to the topic.
 ## Publish messages
You can use the **Message** tab to compose and send messages to the broker.
1. Select the **Message** tab and enter `{"age": 2, "number of toys": 5}` as the message.
2. Enter `my-toys` as the topic name.
3. Select **Send** to publish the message.
An outgoing message appears in the response area indicating that the message was published. Because you have already subscribed to the topic, `my-toys`, you will also see an incoming message with the same body. Go ahead and send a few more messages counting the number of toys you had growing up.
## Publish messages
You can use the **Message** tab to compose and send messages to the broker.
1. Select the **Message** tab and enter `{"age": 2, "number of toys": 5}` as the message.
2. Enter `my-toys` as the topic name.
3. Select **Send** to publish the message.
An outgoing message appears in the response area indicating that the message was published. Because you have already subscribed to the topic, `my-toys`, you will also see an incoming message with the same body. Go ahead and send a few more messages counting the number of toys you had growing up.
 ## Visualize the response
Now that you've subscribed to a topic and published a few messages, you can use the Postman Visualizer to view the messages in a more comprehensible format.
1. Switch to the **Visualization** tab in the response area. You'll see the messages for the `age` field visualized as a line chart.
2. Select the field name dropdown list to select the field you want to visualize.
3. Select **Add** to add more fields to the chart and view the changes in the values.
4. Select the
## Visualize the response
Now that you've subscribed to a topic and published a few messages, you can use the Postman Visualizer to view the messages in a more comprehensible format.
1. Switch to the **Visualization** tab in the response area. You'll see the messages for the `age` field visualized as a line chart.
2. Select the field name dropdown list to select the field you want to visualize.
3. Select **Add** to add more fields to the chart and view the changes in the values.
4. Select the  icon next to any of the field names to change the chart type.
The visualization changes in real time as you receive newer messages for the same topic.
icon next to any of the field names to change the chart type.
The visualization changes in real time as you receive newer messages for the same topic.
 ## Next step
Try subscribing to multiple topics at once and publishing messages to them.
## Next step
Try subscribing to multiple topics at once and publishing messages to them.