Manage service account identities for automation and integrations
This feature is available on Postman Enterprise plans. For more information, see the pricing page.
System service accounts give your team a dedicated, non-human identity for automation, integrations, and system-to-system interactions. Instead of tying CI/CD pipelines or backend services to a person’s credentials, you can create a service account that represents the system itself with its own access controls, credentials, and audit trail.
A service account is a non-human identity you create, for example, admin@company.com. A system service account is an internal automation identity Postman provides, for example, postman-ci-service-account. To learn more about user-created service accounts, see Assign the Admin user.
You must be an Admin or Super Admin to create and manage service accounts.
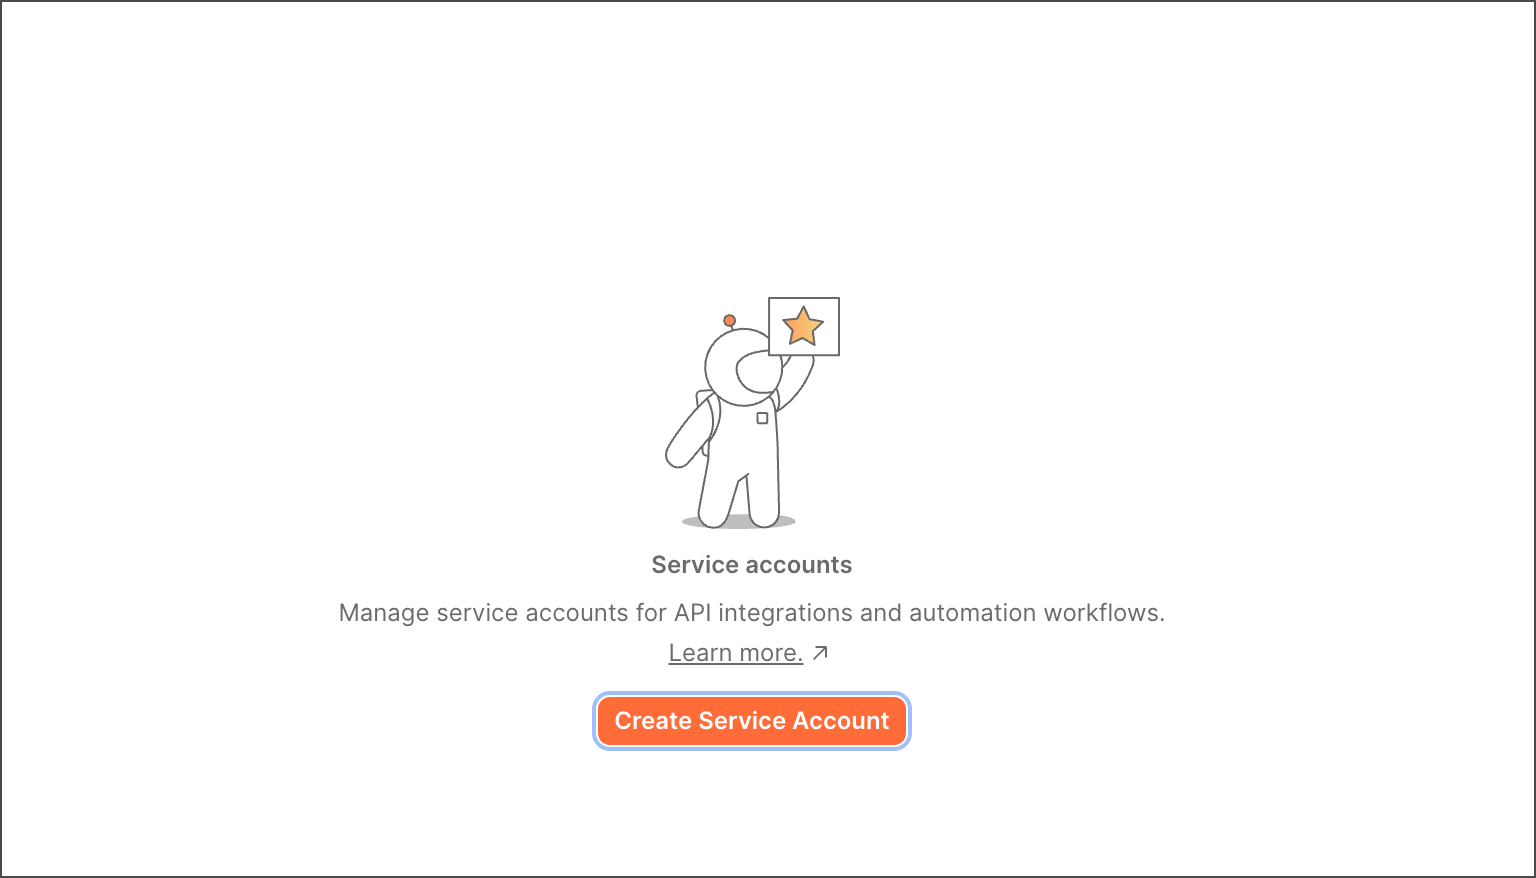
Create a system service account
To create a system service account, do the following:
-
Click your profile and select your team or organization.
-
Click Service Accounts in the left sidebar.
-
Click Create Service Account.
-
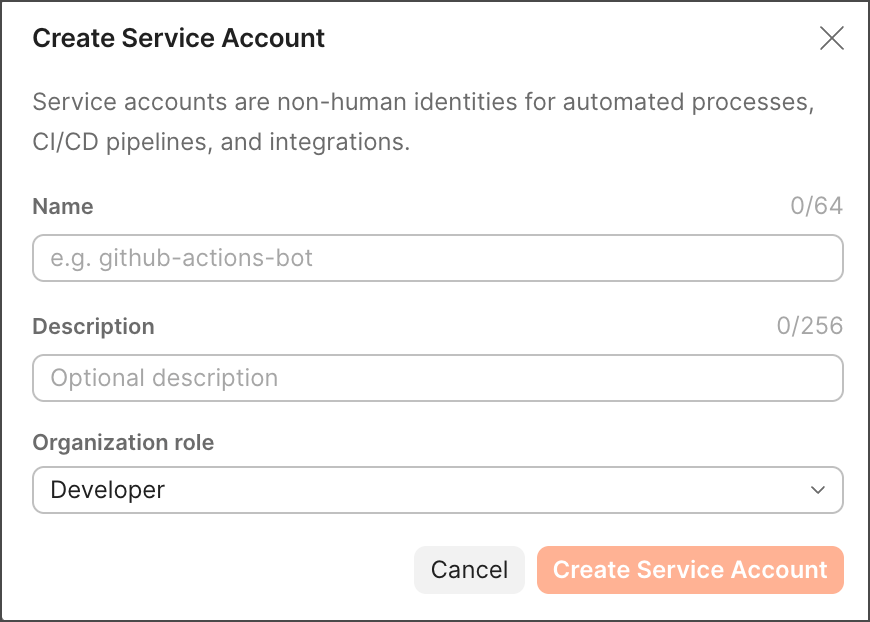
Fill in the fields below, then click Create Service Account.
You can update the account’s name, description, and access assignments at any time after creation.
NameA descriptive name for the system or integration this account represents.
DescriptionAdditional context about the account’s purpose.
Organization roleThe role within the organization that this service account will have.
Assign teams and workspaces
After creating the system service account, assign it to the teams and workspaces it needs to access, and then set up and generate API keys for authentication.
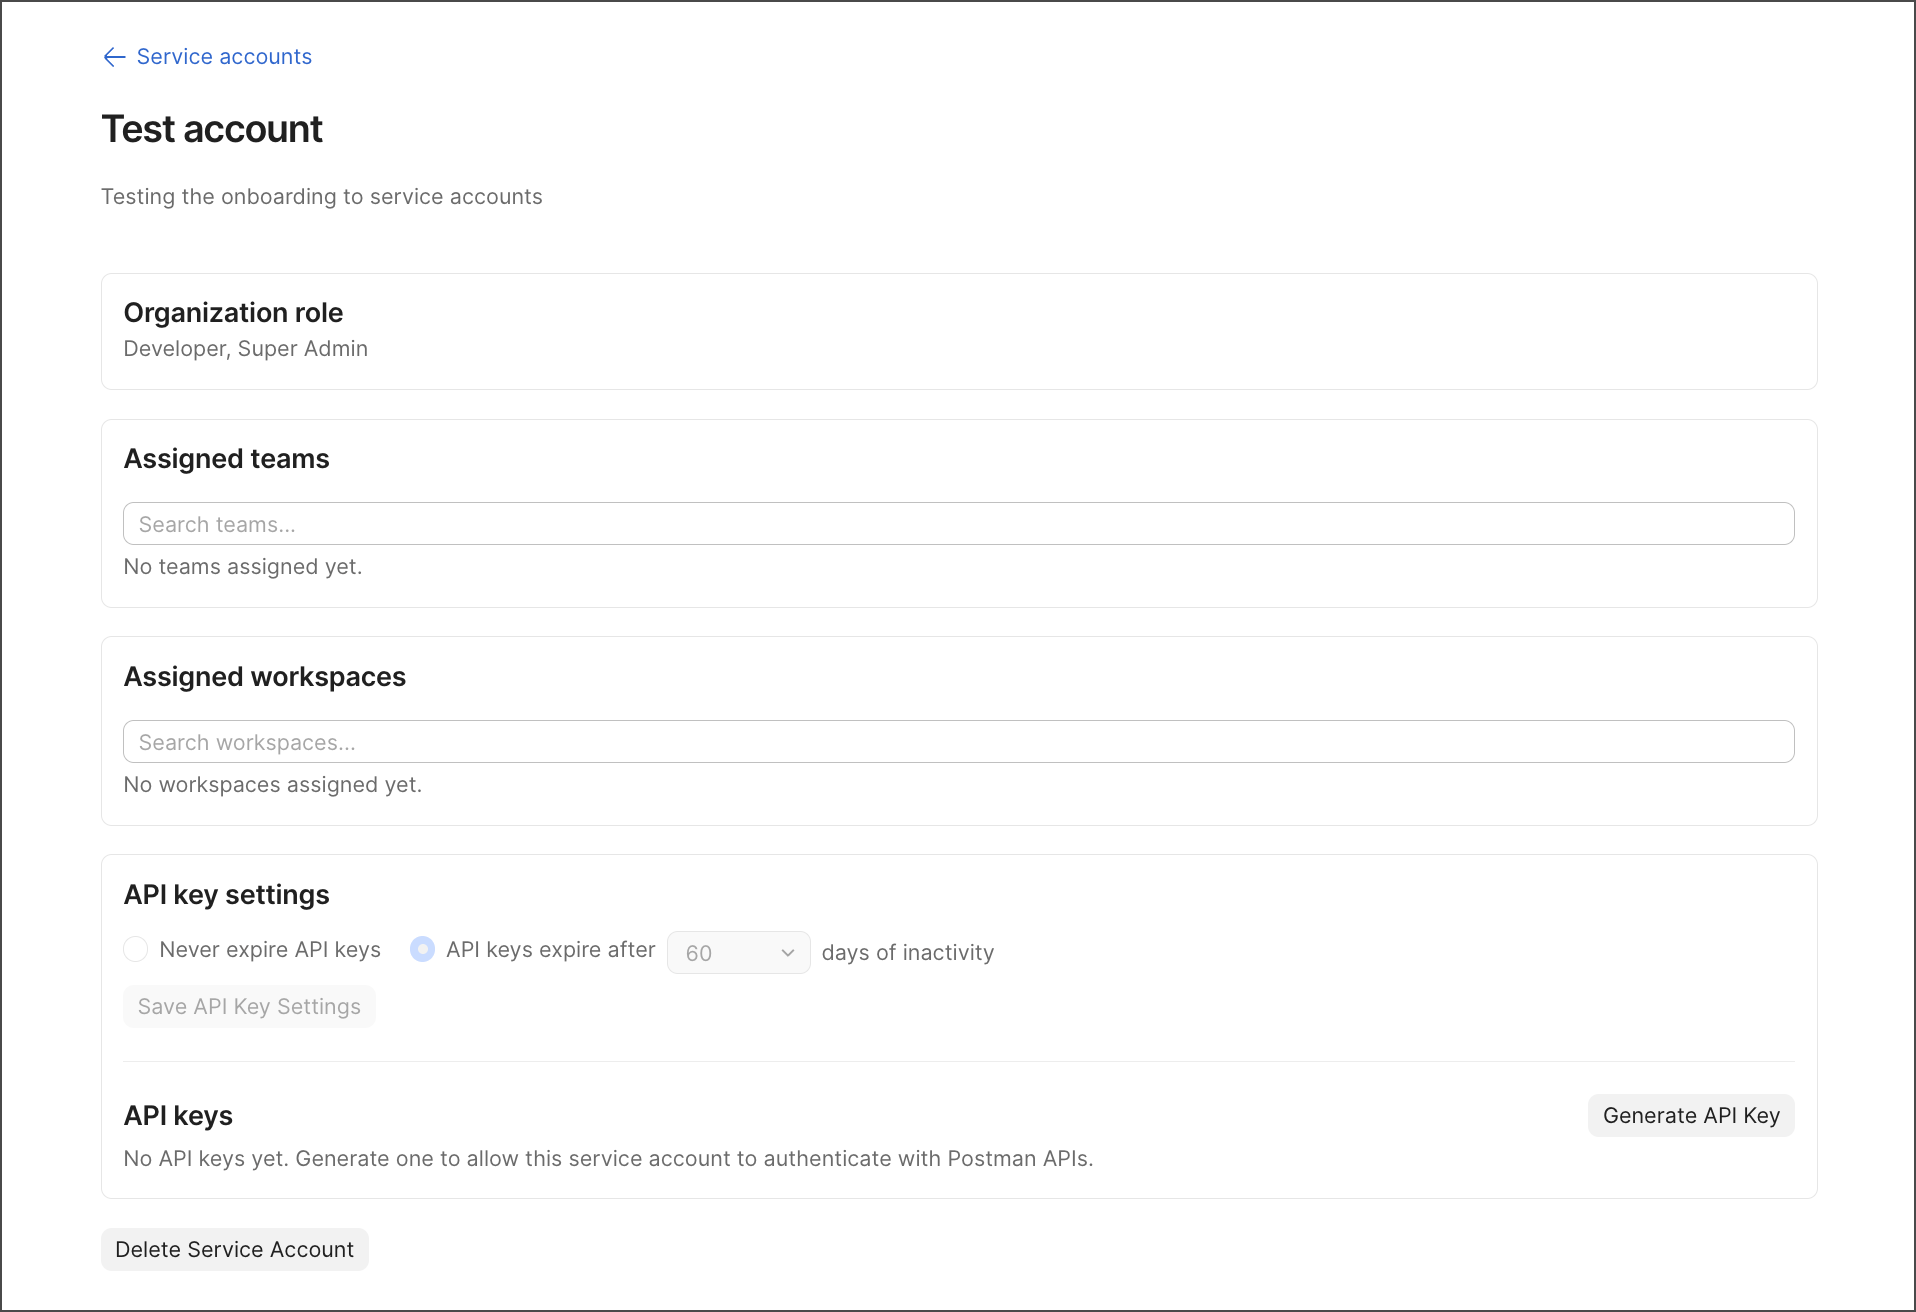
To assign the service account to teams and workspaces, do the following:
- Select the service account from the Service Accounts list.
- Under Assigned teams, select the teams you want the account to belong to.
- Under Assigned workspaces, select each workspace you want the account to access and assign the appropriate workspace role.
Next, you can learn more about workspace roles and what each one allows.
Manage access and permissions
System service accounts use the same role-based access control (RBAC) as team members. The role you assign determines what the account can see and do across your organization, teams, and workspaces.
The following table summarizes the available roles and capabilities for system service accounts at each scope. For detailed information on what each role can do, see Roles and permissions.
Manage API key settings
Each system service account uses a two-step credential model:
- A long-lived API key is used to obtain a short-lived access token.
- The short-lived token provides access to Postman APIs and is the credential you use in your systems.
Token expiration isn’t configurable. You can configure API key expiration and rotate API keys. Admins and Super Admins can view the last-used timestamp for each key.
The short-lived token is similar to a token generated when a user authenticates and enables the integration to perform Postman actions on their behalf.
Generate an API key
To generate an API key for a system service account, do the following:
- Select the service account from the Service Accounts list.
- Click Generate API Key.
- Give the key a descriptive name, for example “ci-key”.
- Copy the API key and store it in a secure location.
The API key is only displayed once. You won’t be able to view it again after dismissing the dialog.
Retrieve a short-lived token
Use the API key to obtain a short-lived session token for your automation scripts and integrations.
To obtain a short-lived session token, do the following:
- Copy the API key generated in the previous step.
- Make an API call with the key passed as the
x-api-keyHTTP header. - Use the session token returned in the response for subsequent API calls.
Manage credentials
Admins and Super Admins can view all system service accounts across the team, including their assigned permissions, active credentials, and last activity.
As an Admin, for each service account, you can do the following:
- Create an API key.
- Rotate or regenerate an API key.
- Revoke or delete an API key.
- View the last-used timestamp, creation date, and expiration for each key.
To rotate a service account’s credentials without interrupting your systems, do the following:
- Create a new API key on the service account.
- Update your downstream systems to use the new key.
- Revoke the previous API key once the new one is in place.
Analyze audit logs
All system service account actions are captured in your team’s audit logs, giving Admins a clear record of what was created, changed, or accessed—and when. To view audit logs, see Audit logs.
The audit log keeps the following service account events:
- System service account created or deleted.
- API key created or revoked.
- Token used.
- Resource accessed.
About security
System service accounts are designed to limit exposure at every stage of the credential lifecycle. Tokens are short-lived by default, so a compromised token has a narrow window of usefulness. When you need to rotate credentials, you can hold multiple API keys simultaneously, update your systems with the new key, and only then revoke the previous one. There’s no forced downtime.