Automate SDK updates with Postman and GitHub
This feature is available on Postman Enterprise plans. For more information, see the pricing page.
Postman can automatically generate client SDKs directly from a collection or specification and publish them to a connected GitHub repository. You can also configure package distribution through supported package managers, such as npm for TypeScript SDKs. Once connected, any changes made to the collection or specification, such as adding or removing requests, automatically trigger a new SDK build and open a pull request (PR) in the connected repository with the updated SDK code.
If you’re on a Team plan, you can still connect your SDK with GitHub and update it manually, but automated updates require an Enterprise plan.
The automatic PRs are generated in the following scenarios:
-
When the collection or the specification is changed, Postman detects these changes and proactively pushes PRs to keep your SDKs up-to-date with your collection or specification.
-
When Postman releases a new version of the SDK Generator (containing new features, bug fixes, and security updates), it automatically rebuilds all the SDKs for the connected repositories and publishes PRs. This ensures that you benefit from the latest improvements and security patches in the SDK Generator without needing to manually trigger updates.
Postman preserves custom code across automatic regenerations. When the SDK is rebuilt for any of the reasons listed above, a three-way merge factors in all commits made to the SDK repository’s default branch since the last merged automatic PR, applying your custom code on top of the newly generated SDK.
Prerequisites
To follow along with this tutorial, you need the following:
- A Postman Collection with at least one saved request.
- A GitHub account with access to the target organization.
- The Postman GitHub app installed on the target GitHub account or organization.
Step 1: Generate the SDK from a collection
You don’t need to regenerate the SDK. You just need to have generated the SDK at some point. Once the SDK is generated and connected to GitHub, any changes to the collection automatically trigger SDK updates without needing to repeat this step.
To generate an SDK from a Postman Collection, do the following:
- In Postman, open the collection you want to generate an SDK from.
- Click
 View more actions and select More > Generate SDKs.
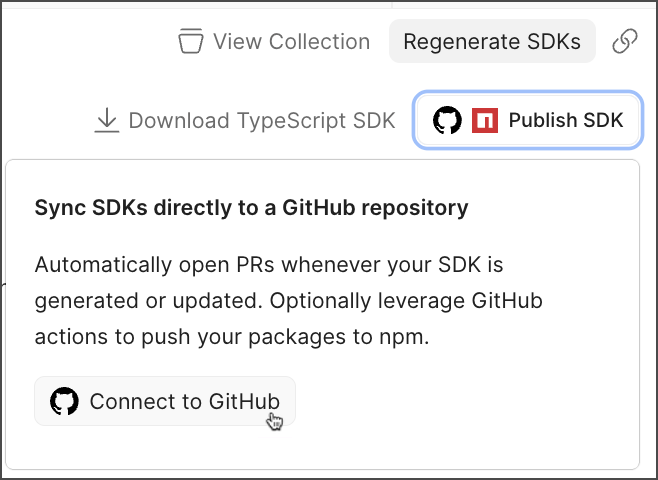
From this page, you can also Download the SDK or Publish SDK to make it available externally.
Step 2: Connect the SDK to a GitHub repository
After generating the SDK, connect it to a GitHub repository so that future SDK updates are automatically pushed as PRs.
-
From the SDK documentation page, click Publish SDK.
-
Click Connect to GitHub.
-
In the Connect repository dialog, select the Git provider: GitHub or GitHub Enterprise Server.
-
If prompted, authenticate with GitHub. The dialog confirms the authenticated GitHub account.
-
Select the GitHub organization from the dropdown. If you don’t see your organization, ensure that the Postman app is installed on the organization and that you have the necessary permissions.
-
Select or enter the Repository name. If the repository doesn’t exist yet, you can create it directly in GitHub (
github.com/new) before returning to complete this step.- Set the Owner to the appropriate GitHub organization.
- Enter a Repository name.
- Set visibility as needed.
- Click Create repository. GitHub returns the empty repo, initialized by Postman with a placeholder
README.
-
Back in the Postman Connect repository dialog, select the newly created repository and set the Branch (defaults to
main). The dialog notes: “Empty repository — SDK will be pushed to ‘main’ on first sync”. -
Click Connect. Once connected, the SDK page updates to show the Published button.

-
Click Published to view the connection status page. The page now includes the following GitHub-related information and options:
- The linked GitHub repository (
your-org/your-repo · v1.0.0). - Branch:
main. - A Package Managers section with an option to distribute the SDK through the appropriate package manager. Learn more in Step 4 (Optional): Manage package distribution.
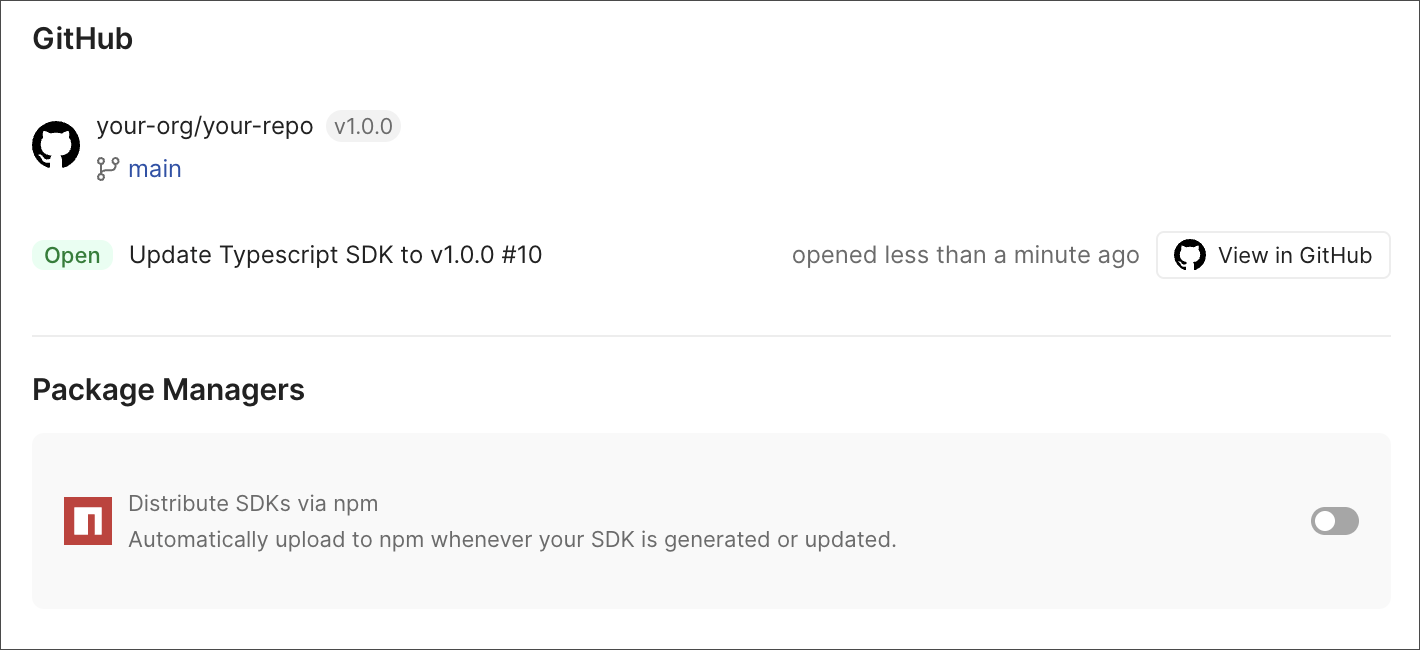
- The linked GitHub repository (
Step 3: Review and merge the initial SDK PR on GitHub
After connecting, Postman automatically opens an initial PR in the GitHub repository.
The PR contains the following:
- The number of files changed with the complete generated SDK source.
- A comment from Postman describing the PR.
- A security scan flagging any severity vulnerability findings, along with suggested fixes and a Commit suggestion button to apply the fix directly.
To merge the initial PR, do the following:
- Review the PR and the security finding.
- Apply any suggested fixes.
- Approve the PR and merge it into
main.
After merging, the GitHub repository contains the full SDK file structure:
The README renders the complete SDK documentation, including setup, installation, sample usage, and service reference. The content is the same as shown in Postman’s SDK viewer.
Step 4 (Optional): Manage package distribution
After connecting the SDK to GitHub, you can optionally distribute the SDK through the appropriate package manager for your language. For example, if you generated a TypeScript SDK, you can publish it to npm (currently available).
To set up package distribution, do the following:
- Toggle on the Distribute SDKs via npm option in the Package Managers section. A message notes: “Awaiting first run — add your API token to trigger publishing”. Ensure the following:
- Specify the token as
NPM_TOKEN, set as a GitHub repository (or organization) secret. - Generate the token directly on npmjs. If the 2FA is set for the npm account, make sure to select Bypass two-factor authentication (2FA). Also select Read and write for All packages in the Packages and scopes section of your npm account’s Access Tokens settings.
- Specify the token as
- Once the PR is merged, a GitHub action runs automatically, and the package gets pushed to npm. Finally, a GitHub release with the same version is created.
Step 5: Trigger automatic SDK updates on collection changes
Once the repository is connected, changes to the Postman Collection automatically trigger a new SDK build and PR.
When a request is added to, modified in, or removed from the collection, Postman detects the change and does the following:
- Composes a new SDK build reflecting the collection’s current state.
- Opens a new PR in the connected GitHub repository with the updated SDK code.
- Posts a comment on the PR summarizing what changed about the collection, for example, a removed endpoint.
Postman automatically increments the SDK version based on the nature of the change. For example, removing an endpoint might bump the version from v1.2.0 to v2.0.0. The PR title reflects the new version: “SDK Updates: v2.0.0”.
Step 6: Review and merge update PRs
Each automatically generated update PR follows the same pattern as the initial PR, with organization-specific conditions for CI checks and approvals.
Once approved and merged, the SDK in the main branch reflects the latest state of the Postman Collection or specification.
Step 7: View the GitHub connection status in Postman
After connecting and merging PRs, the SDK page in Postman shows the following:
- A GitHub section showing the linked repo and current version.
- The most recent PR status (Open or Merged) with a View in GitHub link.
- A Connection status view that includes automatically generated PRs.
- A Package Managers section for optional package distribution.
To disconnect the repository, click Disconnect in the top right of the SDK page.