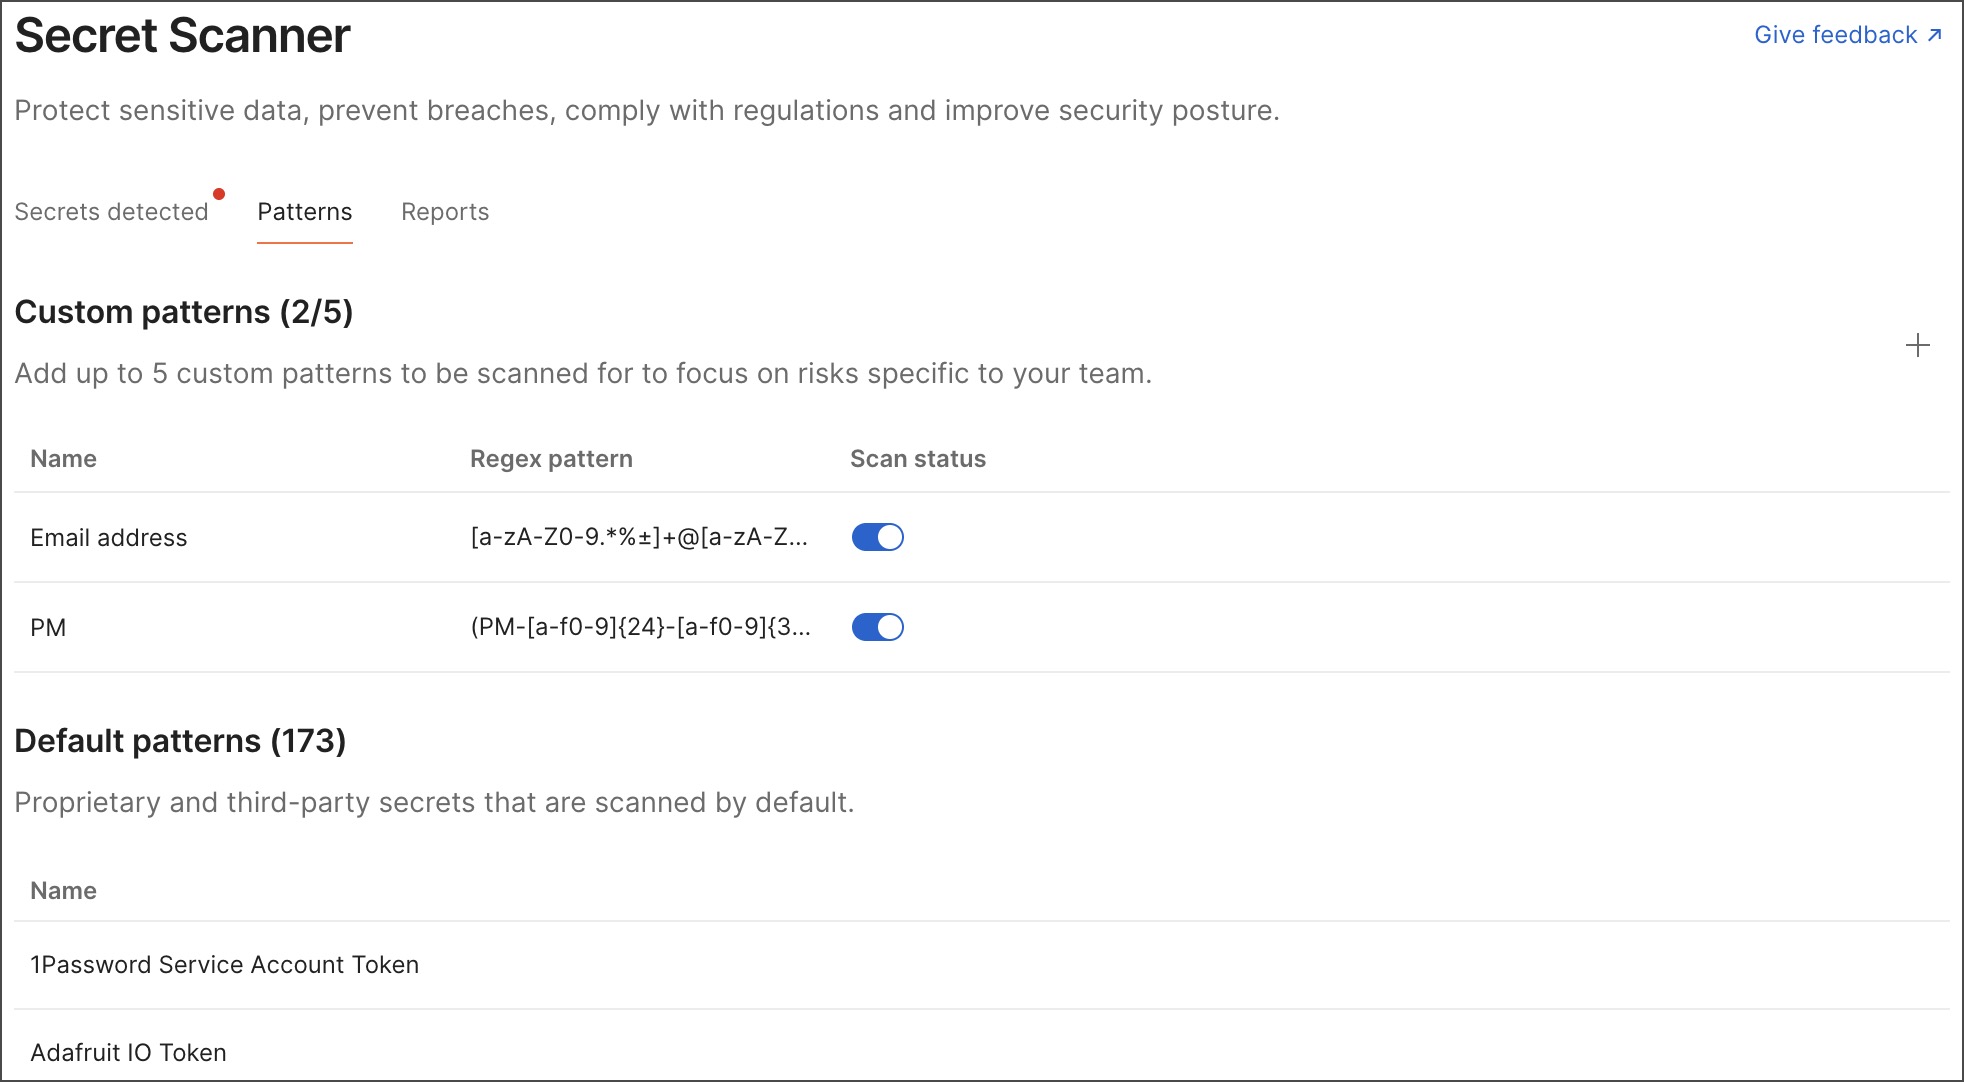
Secret Scanner patterns
Patterns help protect sensitive data and improve your team’s security posture. By default, the Secret Scanner searches using a variety of default secret patterns. You can also add your team’s proprietary third-party app tokens that aren’t supported yet using custom patterns in the Secret Scanner dashboard.

Default patterns
The Secret Scanner checks for tokens issued by common service providers, including Amazon, Google, GitHub, Stripe, and Twilio for all Postman plans. To view the complete list of default patterns, open Secret Scanner and click Patterns.
Custom patterns
Secret Scanner custom patterns are available with the Postman Enterprise plan with the Advanced Security Admin add-on.
You can use custom patterns to scan your team’s proprietary tokens and any third-party app tokens that aren’t scanned by default. You can also dry run custom patterns before adding them to the Secret Scanner, enabling you to test the results that the custom pattern returns.
Your team can add a total of five patterns. You must be a Community Manager or team member with both the Developer and Admin roles to add custom patterns.
Create a custom pattern
To add custom patterns, do the following:
-
Select Organization > Organization settings in the Postman header. Click Secret Scanner in the left sidebar, then click the Patterns tab.
-
In the Custom patterns section, click
Add.
-
In the Pattern details section, enter the following details for the custom token:
- Name - The name of your custom pattern.
- Regex - The regular expression (regex) that defines the secret’s pattern.
- Sample value - A sample value used to validate the pattern.
-
In the Scan activation section, select one of the following:
- Add pattern to secret scanner - Add the discovered secrets to the Secrets detected tab in the Secret Scanner dashboard. By default, the Scan existing elements checkbox is selected, meaning the Secret Scanner uses the custom pattern to scan existing elements. To only scan elements added after you create the pattern, clear the Scan existing elements checkbox.
- Dry run the pattern first with select workspaces - Dry run the custom pattern before adding it to the Secret Scanner. You can select up to 20 public workspaces, internal workspaces, or Partner Workspaces for the dry run. The results of the dry run won’t be added to the Secrets detected tab in the dashboard. Learn more about creating a custom pattern dry run.
-
Click Add Custom Pattern or Dry Run Pattern, depending on the option you selected in the Scan activation section.

Edit a custom pattern
To edit a custom pattern, click the pattern’s name, or click Edit next to a custom pattern. Edit the name or regular expression, update the sample value, then select Save. If you edited the regular expression, select one of the following to confirm your changes:
- Keep Existing Leaks - Show detected secrets in the Secrets detected tab that are associated with earlier iterations of this custom pattern.
- Remove Existing Leaks - Remove detected secrets from the Secrets detected tab that are associated with earlier iterations of this custom pattern.
When you edit a regular expression in a custom pattern, the updated regular expression is used to scan new elements only. To scan existing elements with the changes to the pattern, create a new custom pattern and make sure the Scan existing elements checkbox is selected.
To delete a custom pattern, click Delete next to a custom pattern. Then click Delete to confirm. When you delete a custom pattern, all detected secrets associated with this pattern are removed from the Secrets detected tab in the dashboard.
Dry run custom patterns
When you create a custom pattern, you can choose to dry run the regular expression pattern before adding it to the Secret Scanner. This enables you to test the results that the regular expression pattern returns.
You can dry run the pattern on up to 20 public workspaces, internal workspaces, or Partner Workspaces. If the dry run works as expected, you can add the custom pattern to the Secret Scanner, enabling your team to review the results in your dashboard.
The results of the dry run won’t be added to the Secrets detected tab in the dashboard. You must manually add the custom pattern to the Secret Scanner.
To dry run a custom pattern, do the following:
-
Add a custom pattern, and select Dry run the pattern first with select workspaces in the Scan activation section.
-
Select up to 20 workspaces to scan.
-
Click Dry Run Pattern.

To view the dry run results and add the custom pattern, do the following:
-
Click the Patterns tab.
-
In the Custom patterns section, click View results next to the custom pattern when the dry run finishes. You can select results from the dry run to view more details. To run the scan again, click Re-run Scan in the top right of Results from dry run page.
-
If the dry run performed as expected, you can add the custom pattern to the Secret Scanner, where you can view the results in the dashboard. In the Results from dry run page, click Add Pattern to Secret Scanner.

To make changes to the dry run, click
Delete next to the custom pattern in the dashboard. Then add the custom pattern and dry run it again with your changes.
-
To confirm, select one of the following:
- Ignore Existing Elements - Scan only new elements with this custom pattern.
- Scan Existing Elements - Scan new and existing elements with this custom pattern.