Quickstart: Expose an LLM via Fabric Gateway Integrations
Quickstart: Expose an LLM via Fabric Gateway Integrations
Fabric Gateway lets your application call a single URL, while Fabric Gateway takes care of the provider connection, the model allowlist, and the provider credential behind the scenes.
The following diagram shows how a request flows through the setup you’ll build in this guide.
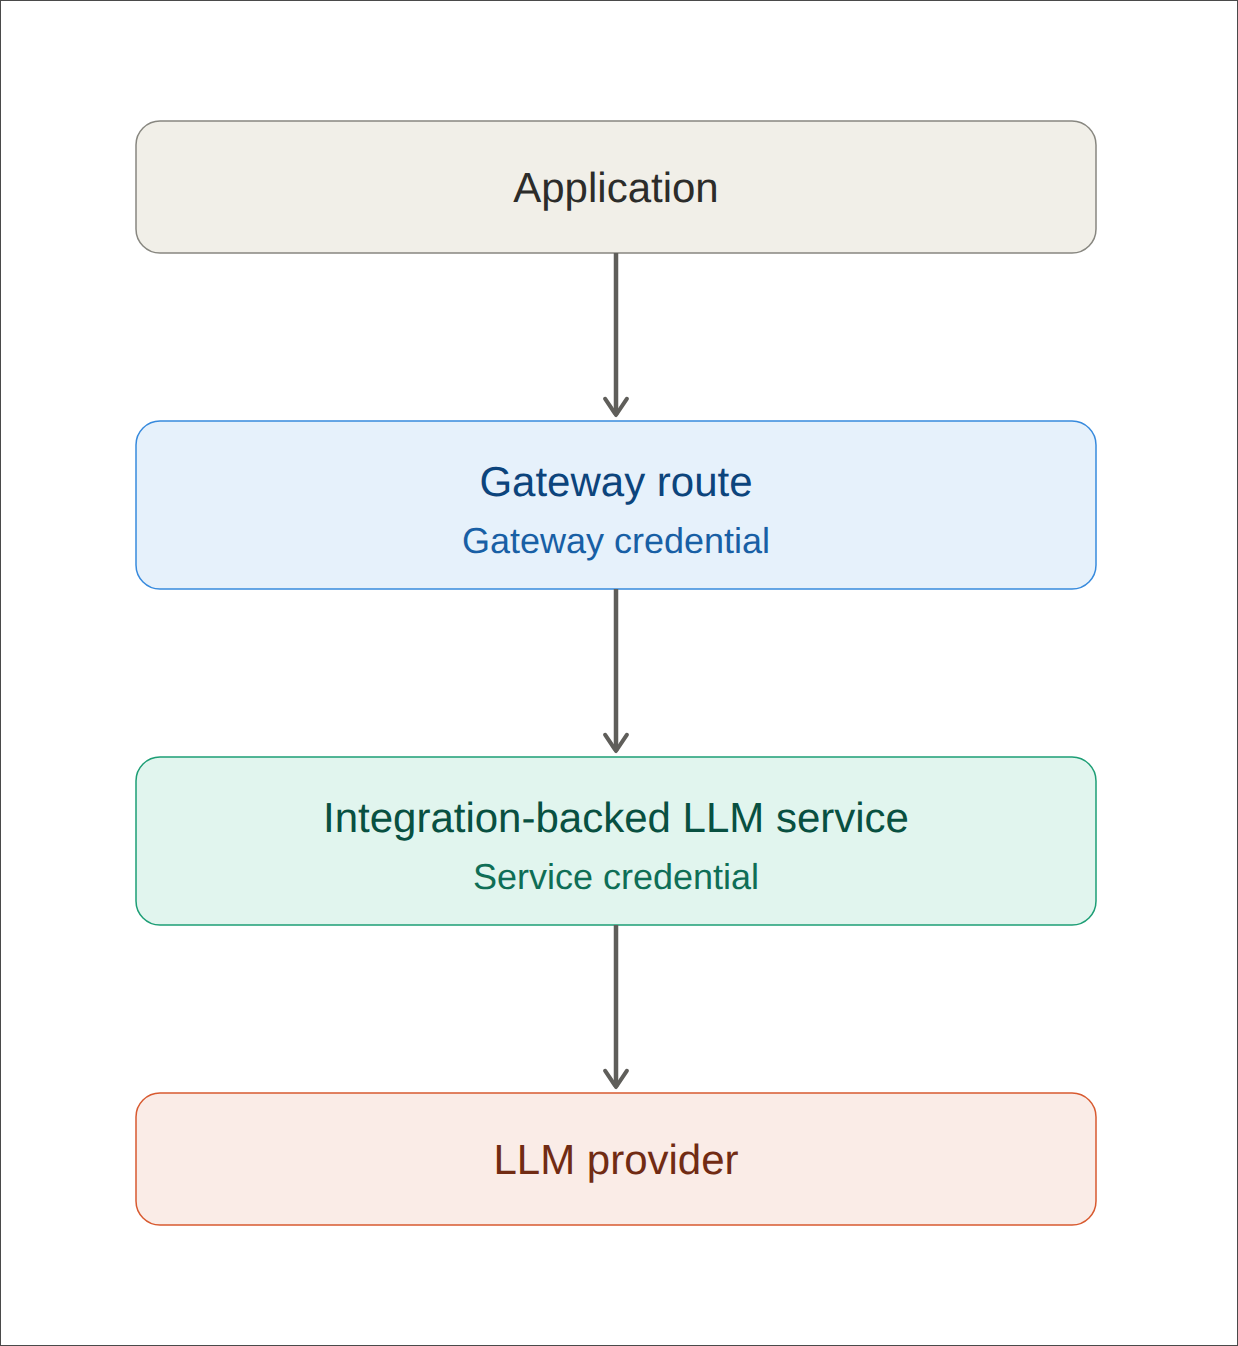
Along the way, you’ll create two separate credentials. Set them up correctly, since mixing them up is the most common setup mistake:
Always start LLM setup from Integrations, not from Catalog. The integration is what supplies the provider’s API compatibility, endpoint metadata, credential requirements, and available models. Creating an LLM service manually in Catalog skips all of that.
Prerequisites
Before you begin, make sure you have the following:
- Access to a non-production tenant and an approved provider integration.
- A vault with the provider credential already stored in it. You’ll only need the reference to it, not the secret value itself.
- A route base in mind, for example
/team-ai, and a descriptive service name, such asteam-openai. - An approved secret store ready to receive the gateway key. The gateway shows this key once, so have somewhere to put it before you start.
Set up the LLM
The setup wizard walks you through the following steps: Create service, Set up credentials, Model filter, and Route & gateway.
Choose the provider integration
- Go to Integrations.
- Find your approved LLM provider and click Use integration.
- Check the tile for the provider’s API compatibility and the endpoints it offers. These determine what your application can call through the gateway later on.
Create the LLM service
- On the Create service step, enter a clear, descriptive name, such as
team-openai. - Review the target URL the integration proposes, and confirm it’s the endpoint approved for your environment.
- Click Continue.
This creates an integration-backed service. Because it’s tied to the integration, the gateway automatically applies the correct request and response handling for that provider.
Configure the provider credential
On the Set up credentials step, do the following:
-
Choose the Owner and Vault for this credential.
-
Enter a Credential ID. Don’t leave this field blank. An empty Credential ID causes the following error:
-
Enter your vault reference in the API key (vault path) field.
- If your secret is plaintext, clear the Property field. The default value,
api_key, only applies to JSON-valued secrets. - If your provider uses role-based auth, select the documented auth mode instead of entering a static key.
- If your secret is plaintext, clear the Property field. The default value,
-
Click Continue.
This service credential stays between Fabric Gateway and the provider. Your application never receives it.
Select the models to expose
- On the Model filter step, select only the models this route should serve.
- Click Continue to save the allowlist.
Start with the smallest set of models your application actually needs. Any request for a model outside this list is treated as unavailable.
Create the route and gateway credential
On the Route & gateway credential step, do the following:
- Click Create new route (this is the option to use for a first setup).
- Name the route, choose a base path such as
/team-ai, and select which provider endpoints to expose. For example, selecting/v1/chat/completionsproduces the route/team-ai/v1/chat/completions. - Leave Create a gateway credential turned on.
- Copy the one-time gateway key to your approved secret store as soon as it displays. You won’t be able to view it again.
- Click Finish setup.
The Access field on the route form isn’t runtime protection by itself. The route’s gateway-key authentication is what actually protects it. Route creation, key creation, and key-auth attachment happen as separate operations, so if the wizard reports partial success, resolve that before sharing the route URL with anyone.
The gateway credential you just copied is the only key your application should send. The current wizard sends it in an Authorization: Bearer <gateway-key> header. Use the exact header shown in the UI if yours differs.
For your first rollout, keep it simple: one integration-backed service on one new route. Hold off attaching a second service or reusing an existing route for fallback until you’ve reviewed API compatibility and routing design for that case.
Call the route
For an OpenAI-compatible integration exposing chat completions, send a request like this:
If your integration uses a different API compatibility type, use the path and request shape that integration supplies instead of this example.
Call the route from your own service
The Agent Mode Service pattern shows how to route Anthropic and Bedrock requests through Fabric Gateway: keep the gateway URL and gateway credential in your service configuration, build the provider client from that configuration, then make ordinary Vercel AI SDK calls. Your service never receives the upstream provider credential.
For an OpenAI-compatible integration, do the following:
Use generateText instead of streamText for a non-streaming call. Keep your provider selection and Fabric base URL in one configuration builder, so the rest of your service only ever interacts with an AI SDK provider and model — nothing gateway-specific leaks further in.
For a native Bedrock/Anthropic path, use the provider-specific createBedrockAnthropic client instead, and only pair it with a matching Bedrock/Anthropic integration. Don’t point an OpenAI-compatible client at a native Bedrock endpoint.
Verify your setup
Before you consider the route ready, send the same request twice:
- Without the gateway credential — This attempt should return
401. - With the intended gateway credential — This attempt should succeed.
A route can technically be reachable before its authentication is fully configured, so don’t skip either check.