Generate CLI from your collection or specification
Generate a command-line interface (CLI) tool directly from your Postman Collections or API specifications. The CLI generator creates a Go-based command-line tool that provides terminal access to every operation in your API, complete with authentication, configuration management, and AI agent integration.
The Postman CLI generator transforms your API specifications into a fully functional command-line tool that does the following:
- Wraps your API operations in an intuitive command structure.
- Handles authentication automatically (Basic, API Key, OAuth).
- Manages configuration through files and environment variables.
- Provides comprehensive help for every command and flag.
- Generates AI agent skills for seamless automation integration.
- Supports all parameter types including request bodies and file uploads.
Permissions required to generate CLIs
You must have Editor or higher access to the collection or specification to generate a CLI. Viewers can view and download existing CLIs, but they can’t generate new ones. Learn more about Postman roles and permissions.
Generate CLIs from collections and API specifications
You can use the Postman CLI or the Postman app to generate your CLI.
Generate CLIs from the Postman CLI
-
Get the collection or specification ID. In Postman, open your collection or specification, then click
 Show right sidebar on the bottom right to open the right sidebar. Click
  Info in the right sidebar and copy the ID to use with the
 postman sdk generatecommand in the next step. -
Run the
postman sdk generatecommand with the pasted ID. For example, to generate a CLI, use the following command with your ID and output directory:Your generated CLI is written to the directory specified by
--output-dir(or./sdksby default).You can navigate to the generated files from your terminal and build the CLI using
go mod tidy, thengo build .
Generate CLIs from the Postman app
-
Expand Collections or Specifications in the sidebar to select the collection or specification for which you want to generate a CLI.
-
Click
 View more actions and select More > Generate SDKs from a collection or specification.
 -
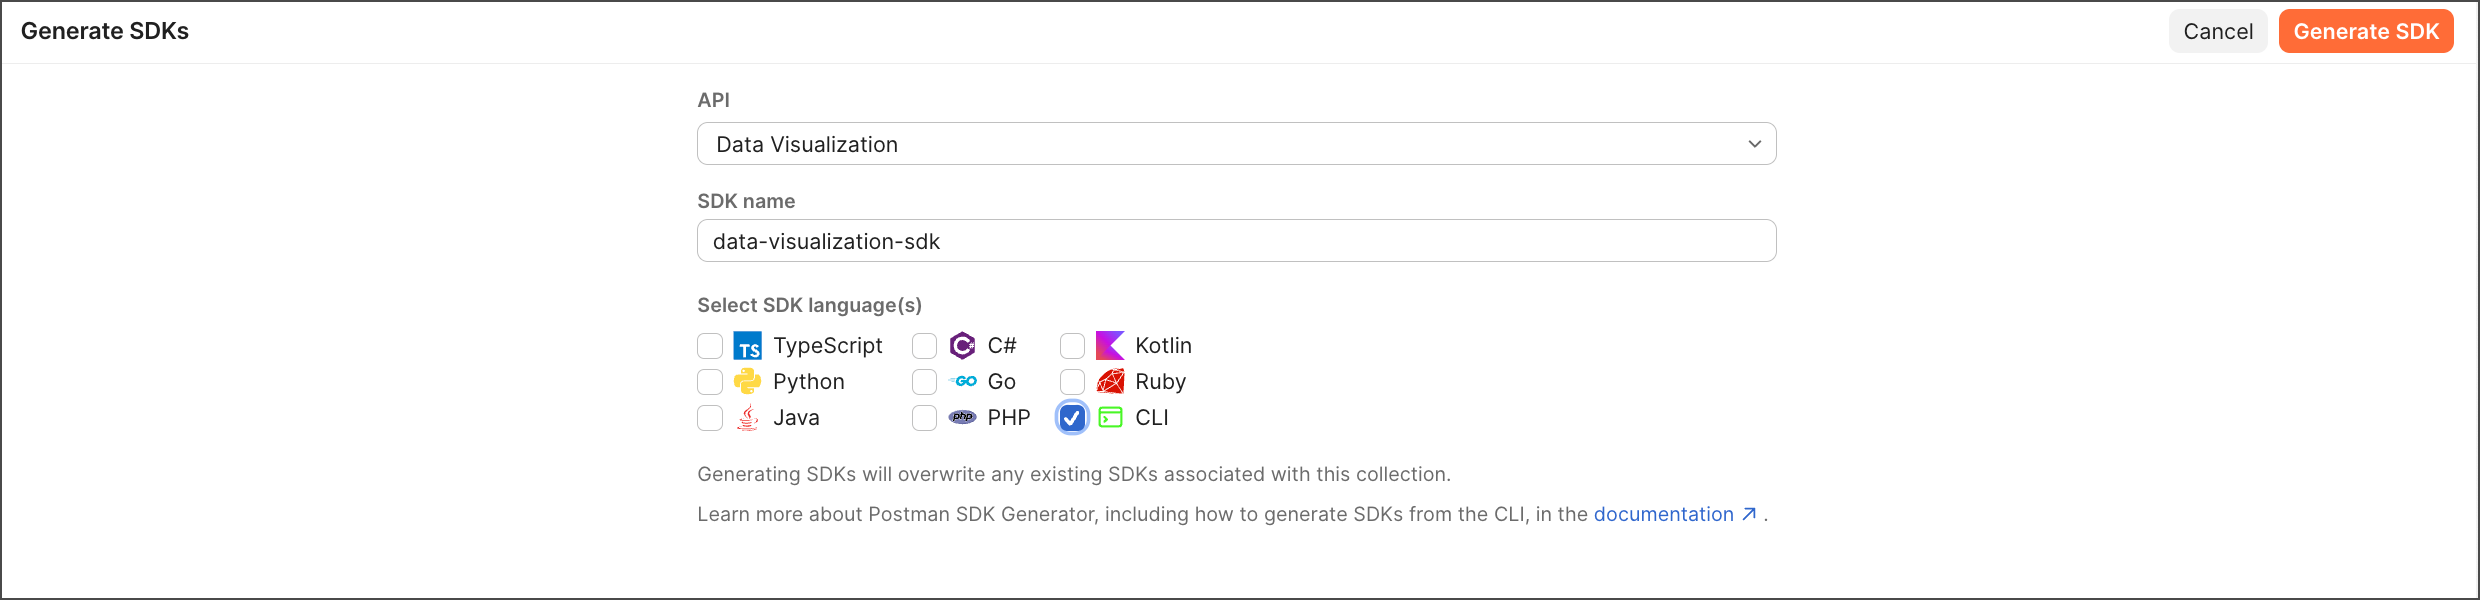
Name your CLI build. You can use the default name or enter a custom one.
-
Select CLI as your generation type. This will create a Go-based command-line interface with all your API operations.
Do this with AIGenerate CLIs using AI. Open the right sidebar and start a new chat. Ask the agent to generate a CLI for you. For example, you can say “Generate a CLI for this collection.”
-
Click Generate CLI.
-
Click Download to download the generated CLI as a zip file. The zip file contains the complete CLI source code, which you can build and integrate into your workflow.
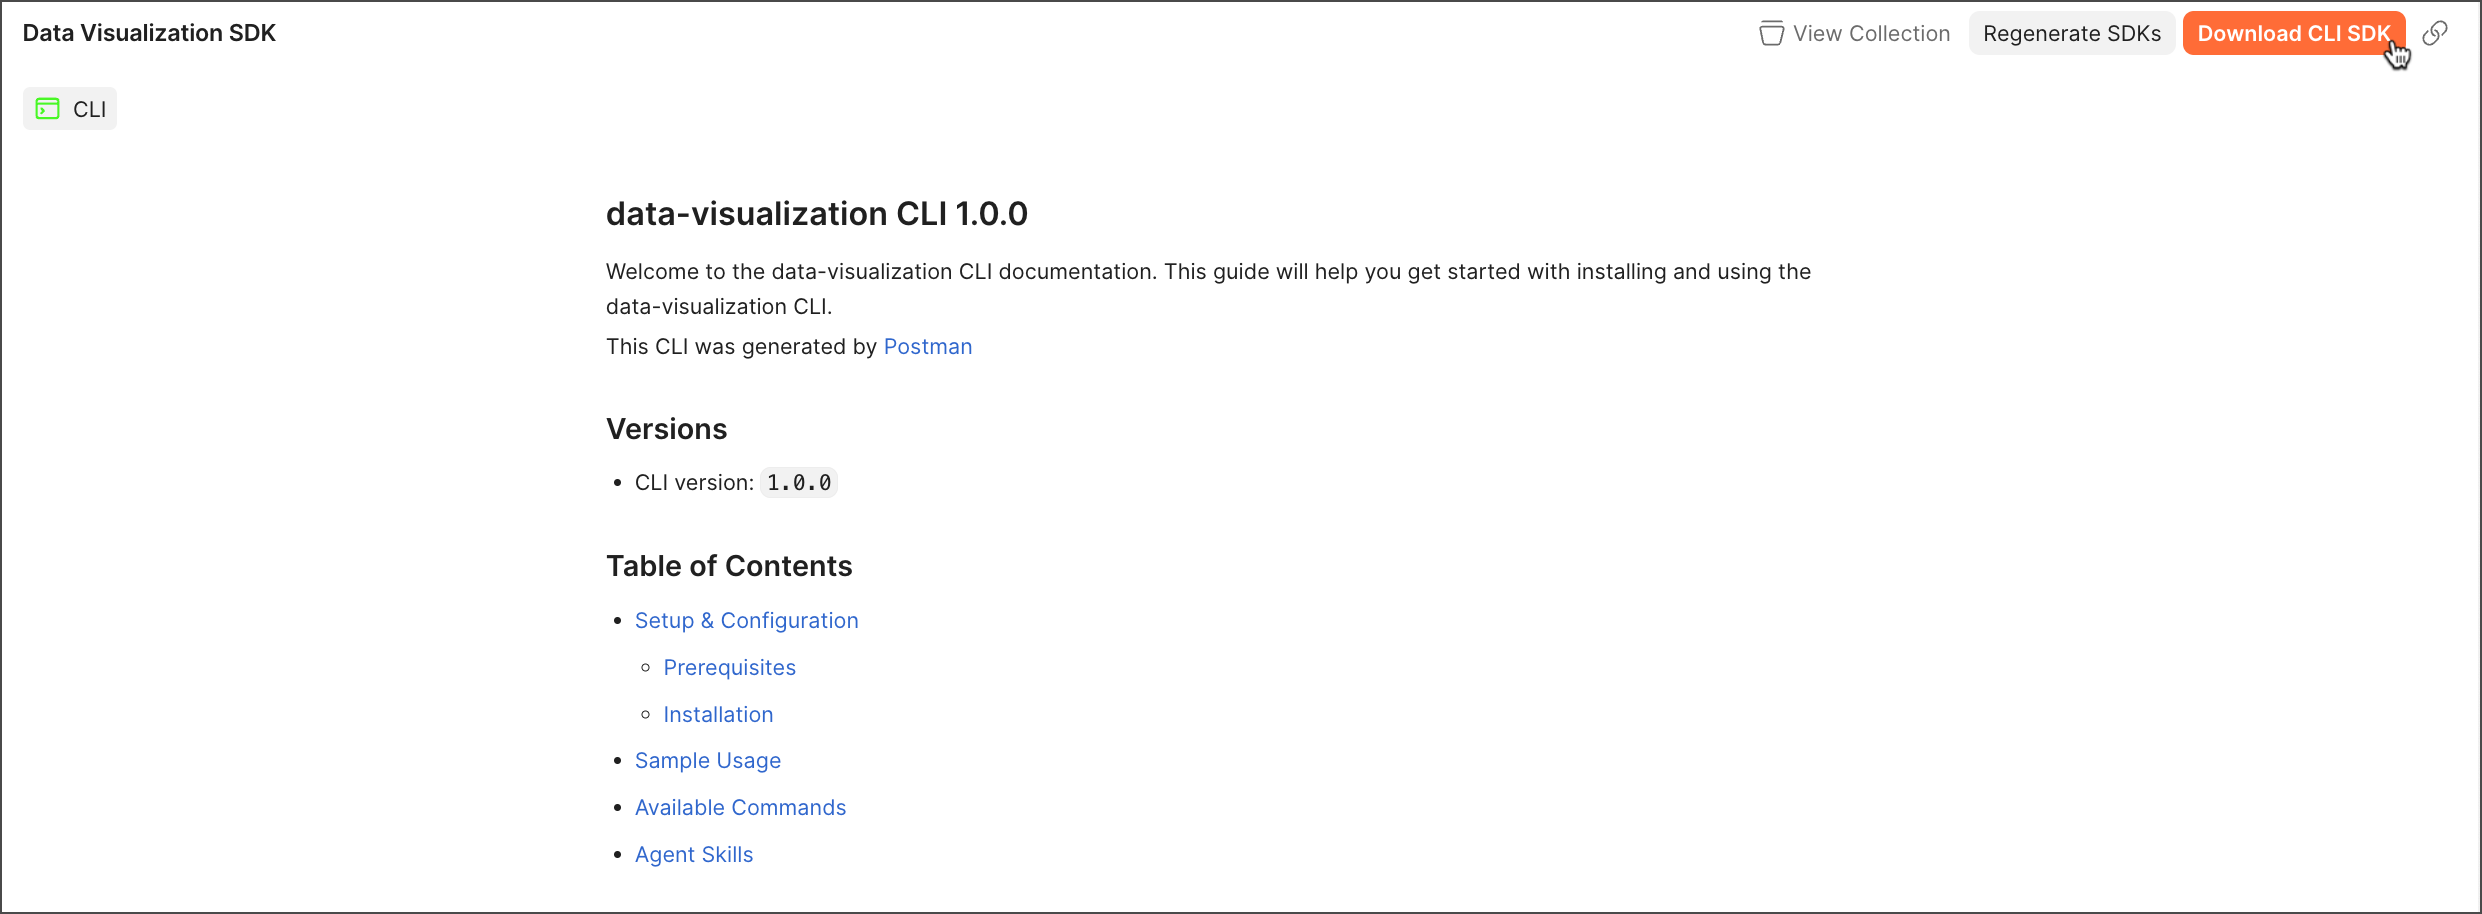
The CLI generator creates a complete project structure containing:
- API commands for all your API operations.
- Go source code for customization and building.
- AI agent skills for each command in Markdown format.
- Authentication setup for all supported auth methods.
- Configuration management with file and environment variable support.
- Comprehensive documentation including usage examples.
To regenerate your CLI or generate new ones with different configurations, click Regenerate SDKs.
You can access your CLIs in the left sidebar. Click SDKs to see all your generated SDKs and CLIs.
Next steps
After generating your CLI:
- Install and build your generated CLI from the source code.
- Set up authentication using the
setup-authcommand for your API. - Configure settings like base URLs using the
configcommand. - Learn CLI commands and use
--helpto explore available operations. - Explore AI agent skills for automation and integration workflows.
- Learn about AI agent integration to understand how agents can use your CLI autonomously.