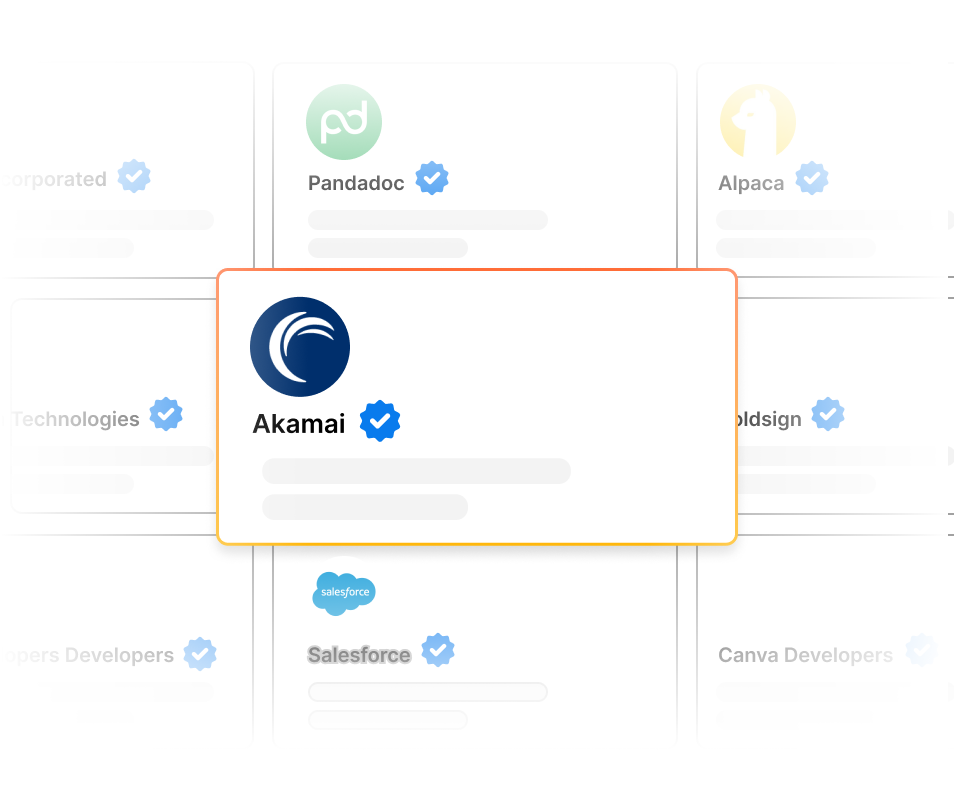
Become a verified publisher on the Postman API Network
Get verified to stand out and grow your public API’s reach. When you’re a verified publisher, you earn Postman’s ![]() verification badge. You’ll also get exclusive access to Publisher Analytics, where you can analyze developer engagement.
verification badge. You’ll also get exclusive access to Publisher Analytics, where you can analyze developer engagement.

To learn more, see Launch, distribute, and grow your API on the Postman API Network. Then, complete the following steps to get verified.
Get started with your application
To get started with your application, do the following:
- From the Postman header, click API Network. If prompted, click View all public APIs.
- From the left sidebar, click
Settings.
- Click Postman verification.
- Click Continue.
Complete tasks at your own pace. You can track your overall progress and, for each section, you can see the number of remaining tasks. When you complete a task, it’s marked as complete.
Review your publisher settings and profile
Complete your team profile and introduce your team to your API consumers and the world.
To review your publisher settings and profile, do the following:
- Open your team’s verification checklist.
- Click Publisher settings and profile.
- For each task, click Review or Complete. Then, follow the onscreen instructions.
Review your team’s workspaces
Prepare your public workspaces and their collections and review that they’re ready for your API consumers. To learn more, see Prepare your public workspace for the Postman API Network and Prepare your public collections for the Postman API Network.
To review your team’s workspaces, do the following:
- Open your team’s verification checklist.
- Click Workspaces.
- For each item, click Review, Complete, or View subtasks. Then, follow the onscreen instructions.
Verify your team’s identity
Verify your team’s identity by verifying you own your domain.
To verify your team’s identity, do the following:
- Open your team’s verification checklist.
- Click Identity.
- For each item, click Review or Complete. Then, follow the onscreen instructions.
Submit your application for review
Before you submit your application, review it for completeness and accuracy. When you’re ready to submit it, click Submit for review. Postman will review your application. You can see its status while you wait.
Once Postman approves your application, you’ll earn a ![]() verification badge.
verification badge.