Workspaces overview
Workspaces enable you to organize your Postman work and collaborate with teammates. You can group your projects together, with workspace acting as the single source of truth for related APIs, collections, environments, mocks, monitors, and other linked elements. By collaborating in a workspace, your edits sync with your team in real time.
Workspace types
With a Postman account you can create the following types of workspaces:
- Internal — Internal workspaces can be visible to you and the people you invite or your team (and entire organization, if you’re on the Enterprise plan). If you’re on an Enterprise team, Super Admins also have access to any internal workspaces created within the team.
- Private workspaces — Any team member can create an invite-only workspace, but when you add another person to a private workspace on the Team plan, the workspace visibility automatically changes to Team. The Enterprise plan allows creating private workspaces that remain private even when you add other team members.
- Partner — Invited team users and partners can access Partner Workspaces (Enterprise plans).
- Public — Public workspaces enable you to collaborate on elements with anyone across the world and leverage the Postman API Network.
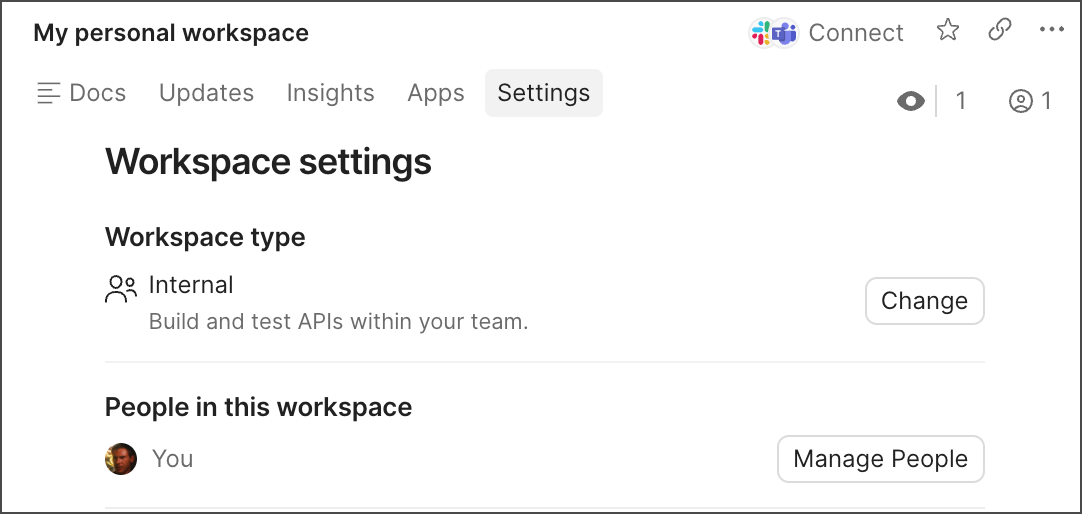
You can change the type of your workspace at any time, by going to the workspace settings and selecting Workspace type > Change. Explore Postman Best Practices for different types of workspaces for guidance on setting up workspaces for internal, partner, and public API collaboration.
To add more users to your workspace, select Invite in the Postman header.
Learn more about creating workspaces. To learn how workspace permissions are managed, see Manage internal workspaces.