Get started with Postman Insights
Install the Postman Insights Agent and allow it to watch your API traffic. Within minutes, the AI algorithms will discover your endpoints, and you’ll be able to monitor errors across your endpoints in your project and the API Catalog.
Prerequisites
- Set up an internal workspace that only you and your team can access.
- Ensure you have Workspace Admin access. Insights isn’t supported by partner or public workspaces.
Create an Insights project
- In the left sidebar, click
 and select
  Insights.
 - Name your project.
Select your container environment
Select your container environment from the Insights project Setup tab.
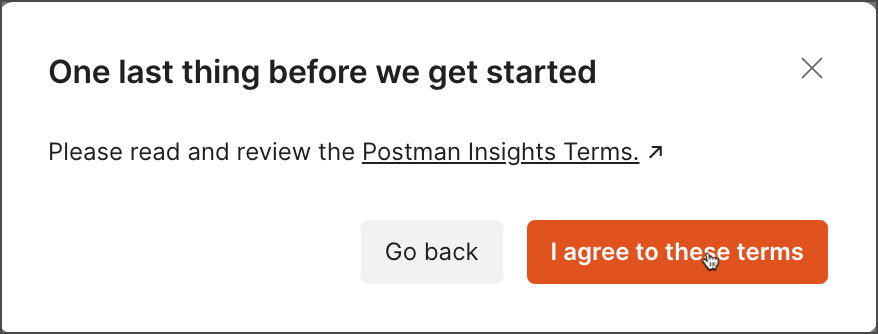
To proceed with the installation, read and acknowledge the Insights terms.
The Postman Insights Agent supports the following tech stacks:
- Kubernetes DaemonSet and sidecar
- Amazon Elastic Container Service (ECS) on EC2 and ECS Fargate deployments
- Amazon Elastic Compute Cloud (EC2) standalone deployments
- AWS Elastic Beanstalk
If you don’t see your stack, you can email the team using the corresponding option in the Get started dropdown list or Resources on the bottom left.
Debug with Insights
Use Repro Mode to rerun requests using real data. Enable Repro Mode from your Insights project Settings. Then, debug your endpoints using Repro Mode.