Customize Postman app settings
Postman automatically chooses default values for some settings so you can get right to work. Make changes to settings at any time based on your use case or to customize your Postman experience.
You can customize the Postman user interface to suit your preferences such as how Postman sends requests, or change the working directory, or user interface settings like using a two-pane view. You can also adapt Postman to your visual needs by changing the theme.
Customize keyboard shortcuts and enable Postman’s AI features. You can also import data files, install Postman add-ons, manage certificates, manage accounts and tokens used to authorize Postman with third-party services, and configure proxy settings to connect to online services.
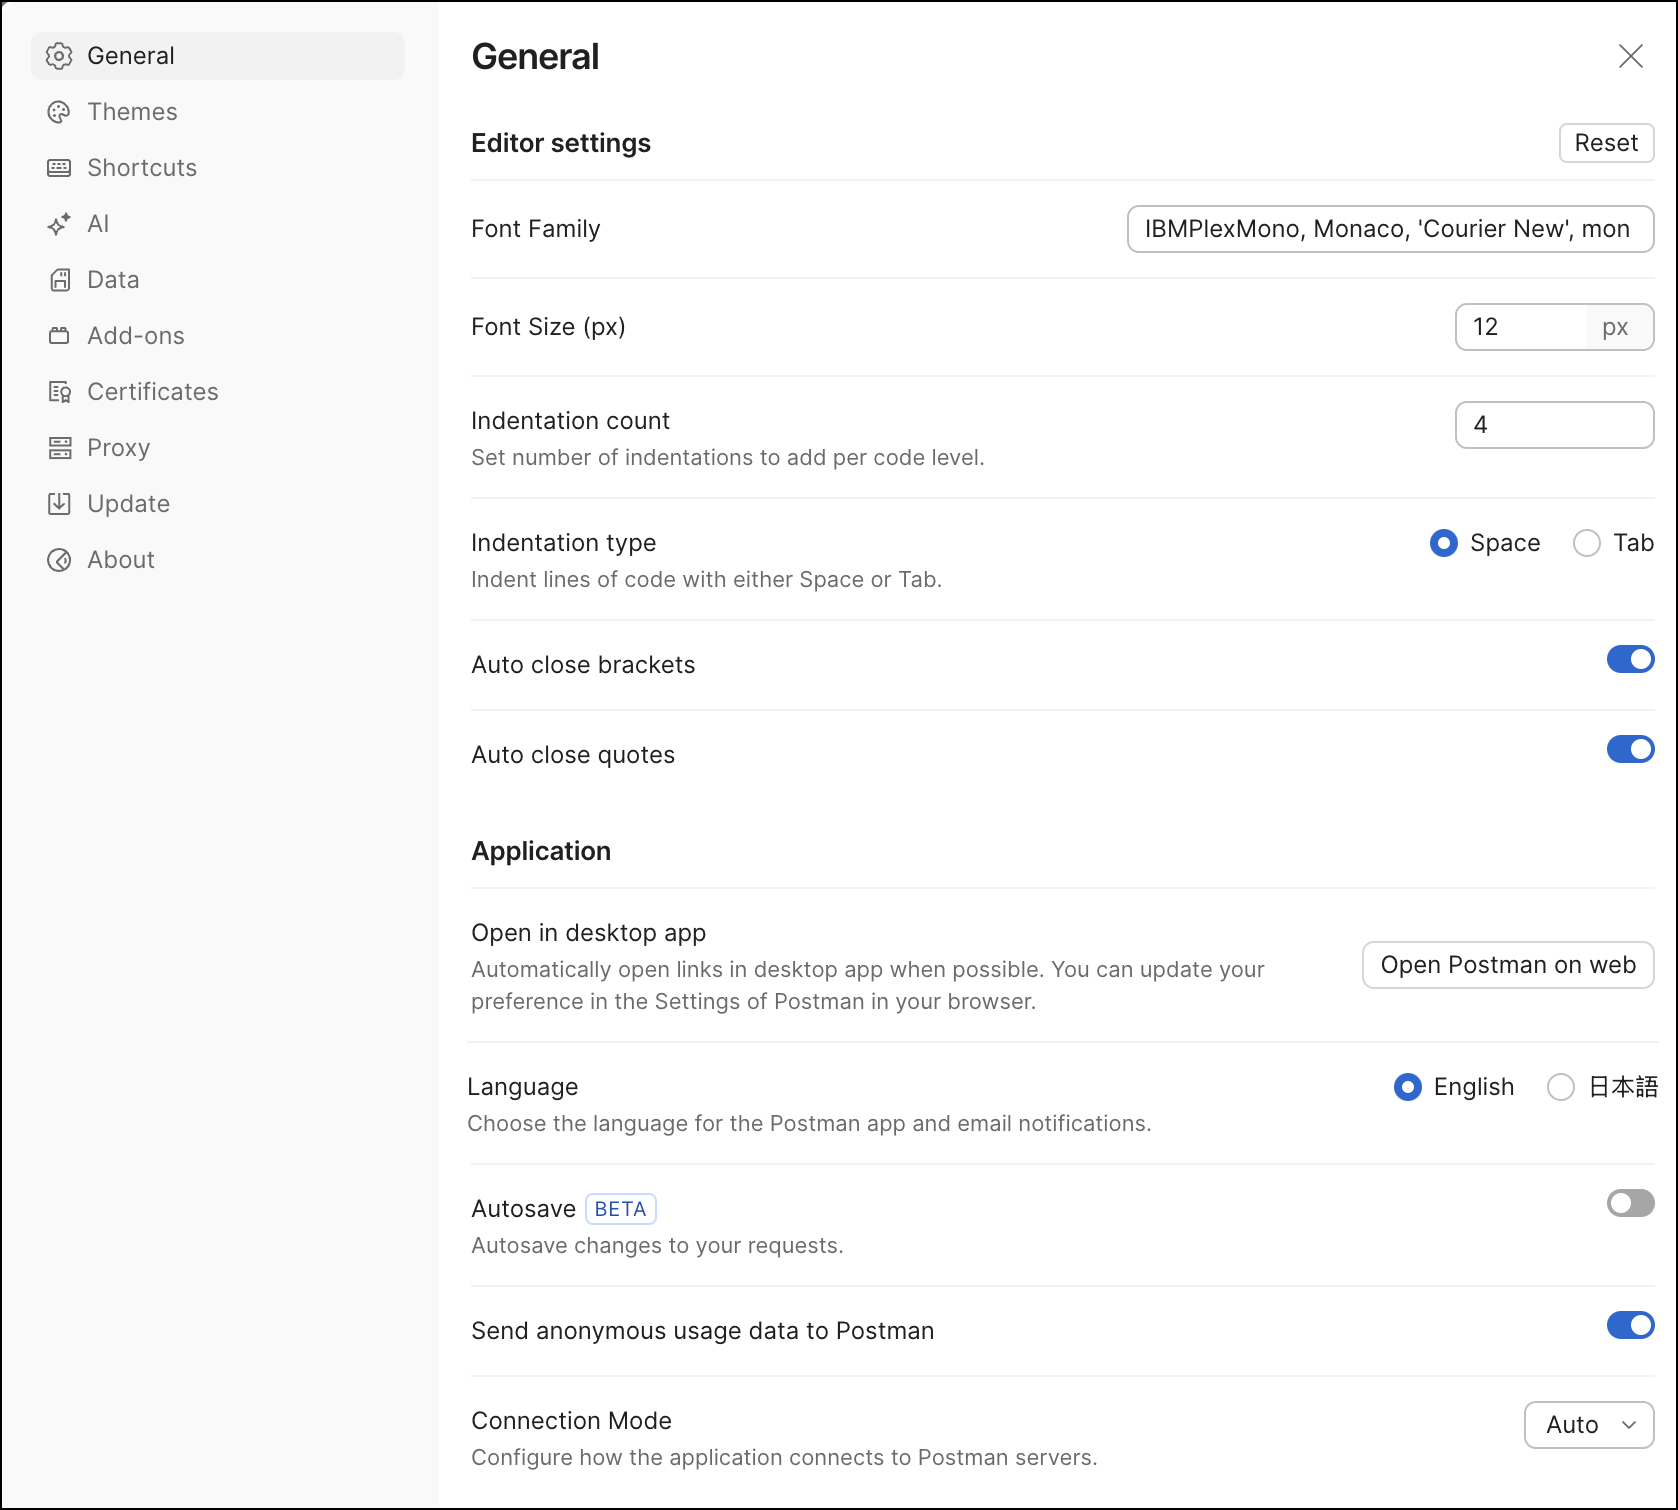
To change settings in Postman, click ![]() Settings in the header and then click App settings. In the Postman desktop app, you can also click ⌘+Comma (,) or Ctrl+Comma (,).
Settings in the header and then click App settings. In the Postman desktop app, you can also click ⌘+Comma (,) or Ctrl+Comma (,).