Work with WebSocket messages
WebSocket messages are data packets sent over a WebSocket connection. WebSocket messages include information about the type and length of the message, and whether it’s the final message or part of a larger set of messages. You can send, save, and view WebSocket messages in Postman. You can also add names and arguments to Socket.IO events.
Send WebSocket messages
After making a WebSocket connection, you can use the editor pane to compose and send messages.
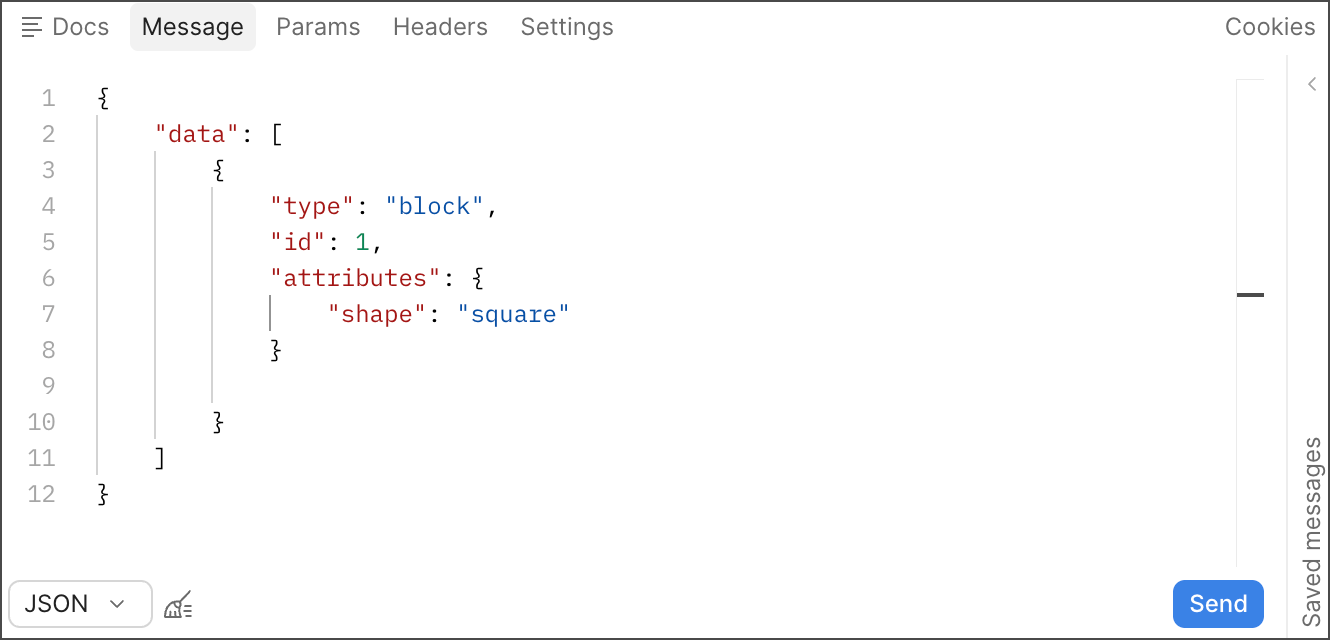
In the bottom left corner of the editor, you can select the format of your message: Text, JSON, XML, HTML, or Binary. If you click Binary, you can then select Base64 or Hexadecimal. The editor has syntax highlighting according to the selected format. You can also click  Beautify to beautify JSON, XML, or HTML messages.
After you finish composing your message, click Send. The sent message remains in the window, in case you want to change it and resend, or save it.
Save and load WebSocket messages
You can save composed messages, then load and resend them later.
To save a message, do the following:
- Compose a message (see Send WebSocket messages).
- Click Save to save the message with the request.
- (Optional) Click Saved messages to open the pane.
- Click
 Add message to create a new blank message and add it to the list of saved messages.
To load a saved message, do the following:
- Click Saved messages to open the pane.
- Select a saved message to view its contents in the editor.
You can then send the message or edit it and click Save to save the changes.
View WebSocket messages
The Response pane displays a list of messages for the WebSocket connection, including incoming, outgoing, and network messages. Response messages also contain a timestamp in your local time and the contents of the message.
At the top of the Response pane is a connection details badge that displays the WebSocket’s connection status. Hover over the badge to view connection details.
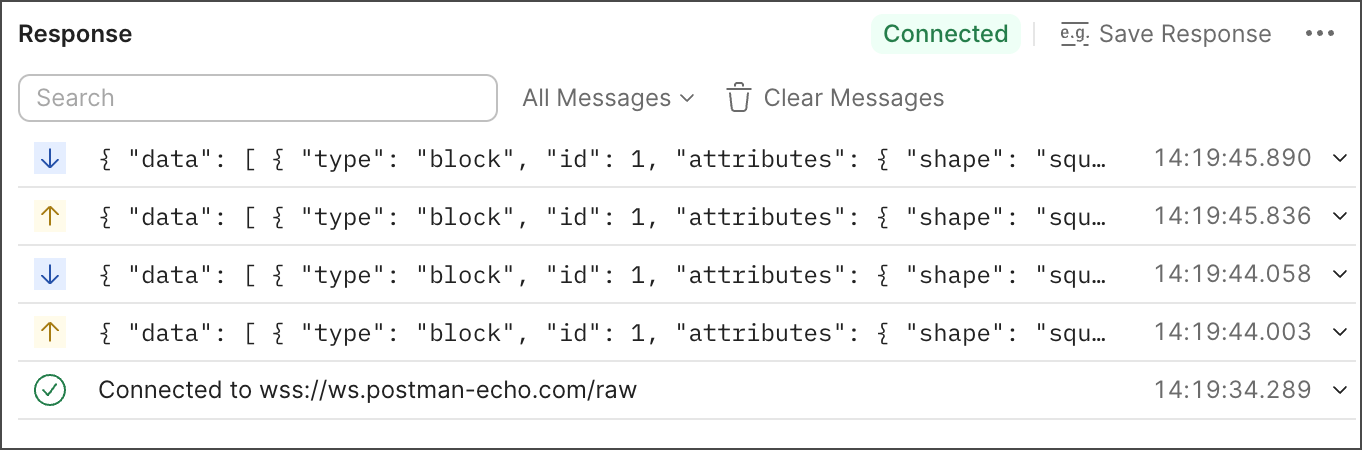
The Response pane has the following controls:
- Search terms in messages — Enter a search term in the text box to display messages containing the term. Click
 Clear to clear the search box.
 - View all messages — Click All Messages to view all sent messages and received messages.
- Clear Messages — Click to clear all messages.
You can perform the following actions for each message:
- Click a message to expand or collapse it.
- Hover over a message to display the following:
- To display the time difference between two messages, click their checkboxes. Click Deselect or clear the checkboxes to clear your selections.
- Click
 Copy message to copy the message to your clipboard.
 - Click
 Save message to save the message.
 - Hover over
 to display a message’s size, time, and MIME type.
In an expanded message:
- Select Text, HTML, JSON, or XML in the dropdown list to change the message’s formatting.
- Click
 Wrap Line to apply or remove line wrapping.
 - Click Show Hexdump or Show Message to show the message in hex or text.
- Click
 Search to search the message.
 - Hover over a line number and click
 or
or  to expand or collapse message blocks.
Add Socket.IO event names and arguments
To listen to specific events, you can add names and arguments to events you send with a Socket.IO connection.
For a Socket.IO connection, you can enter an event name to publish next to Send. By default, Postman uses the “message” name. If you select the Ack option, the server will acknowledge that it has received the message.
You can also add arguments to a Socket.IO connection. Click Arg in the editor pane. A sidebar opens with a new argument that you can use to add the argument’s message. Hover over an existing argument and click  to delete it. The workflow to inspect each argument’s message is similar.